
Integrating Sertifier with your Zoom account lets you send automated certificates to the participants of a meeting of your choice once the meeting is finished.
To start the integration process, choose and install Sertifier from the Zoom App Marketplace. You will be directed to a consent page, where you can scroll down and press Accept. After that, you will be redirected to the Sertifier App. If you have not created a Sertifier account before, you have to go to the signup page to create a new account, if you already have an account you can directly log in.
Once you’re inside, it means your Sertifier and Zoom accounts are now connected. Now the only step left is to configure a certificate that is going to be sent once the meeting is finished. To begin, navigate to the "Advanced" section and select the "Integrations" tab from the menu on the left. Within the Integrations tab, proceed by clicking on "Create New Integration."
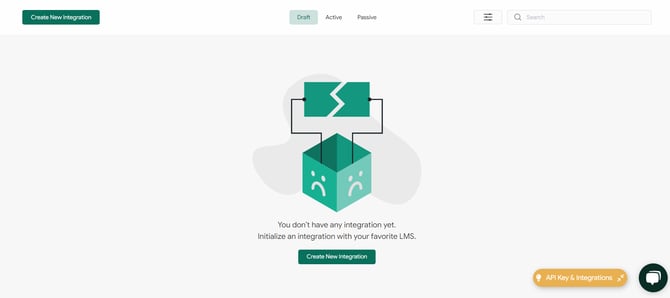
After selecting "Create New Integration," a list of integrations will appear. Choose Zoom from the list and then select the specific Zoom meeting you would like to integrate.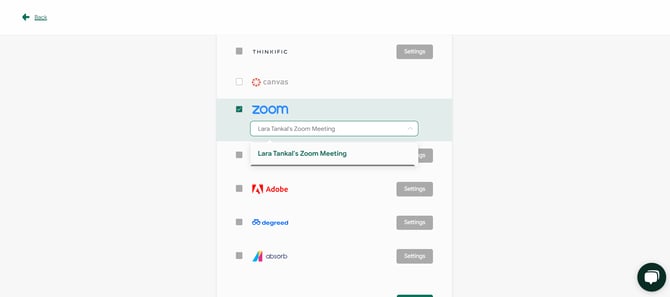
After you choose the meeting, you will be sent to the credential campaign page where you can select or create the components of the credential which are the Design, Detail and the Email Template.
Design Credential
Click the green checkmark next to the credential design to select your preferred design. If you do not have a design yet, you can click on Create New Design to access the Credential Designer. You can click here for more detailed information about the Credential Designer.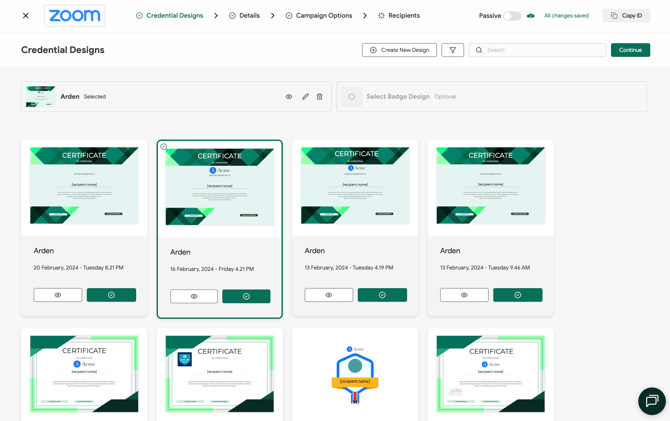
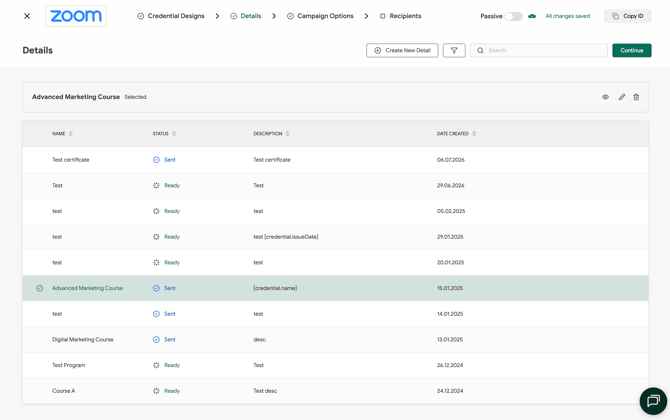
Creating Details
Click the green checkmark to select one of your existing credential details, or click Create New Detail to create a new one.
The Credential Details page is where you can input all the essential information for your digital credentials. This section enables you to complete the necessary details for your certificates. Click here for more detailed information on how to create certificate details.
Campaign Options
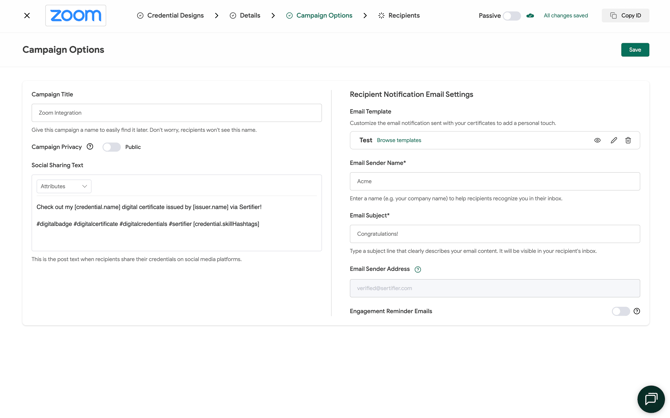
In the Campaign Options step, you can customize the Campaign Title, as well as the Social Sharing Text.
Under Recipient Notification Email Settings, you will be able to select or create a new custom email template to issue your credentials with by clicking Browse Templates.
Email Template
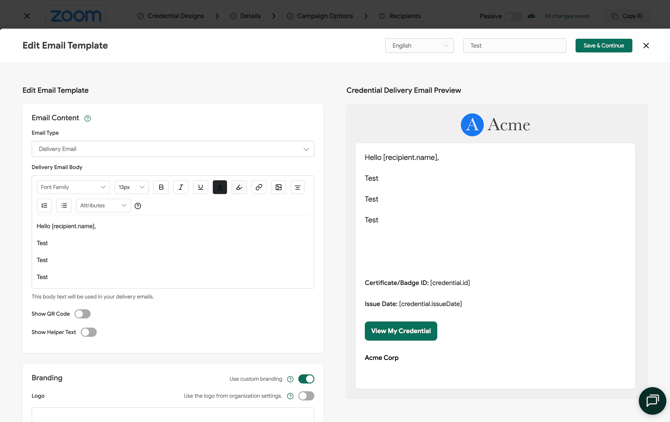
The Email Template tab is where you can customize the email that will be sent to your certificate recipients.
You can find more detailed information here.
For a complete guide to sending Digital Credentials, you can click here.
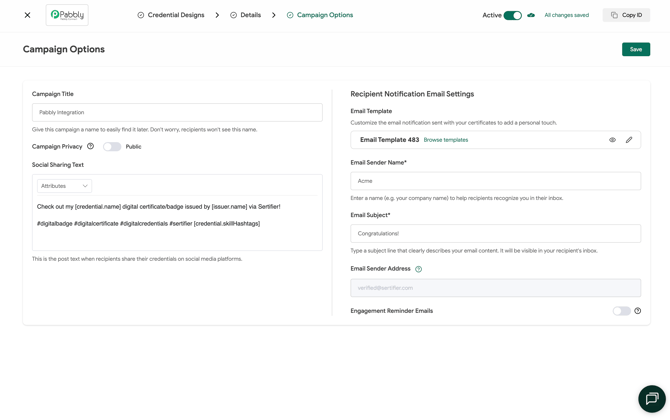
Once all components are selected and saved, toggle the status of your integrated campaign to Active, indicating that the credential is now fully prepared for integration.
This indicates that you have successfully completed the setup for your certificate automation process. Congratulations!
Uninstallation:
- Login to your Zoom account and navigate to the Zoom App Marketplace
- Click Manage > Installed Apps or search of Sertifier
- Click the Sertifier app
- Click Uninstall