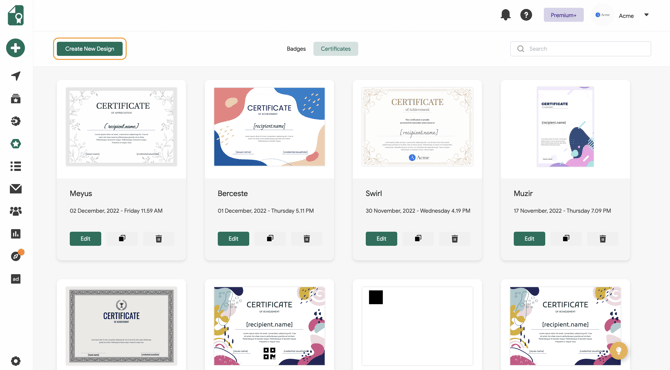
To begin designing your credential, access the Credential Design option in the left menu under Components of our web application. From there, select Create New Design to get started with your first design. Feel free to switch between the Badges or Certificates tabs above to work on the type of design you prefer.
Begin by choosing from the available certificate templates in the left menu.

If your institution utilizes a pre-made design or template for certificates, you also have the option to upload it. Simply click on the Upload Design button in the left menu. Ensure that your design is A4-sized and in SVG, PNG, JPG, or JPEG format. You can then proceed to customize these designs as needed.

Use the Upload Image button on the Image tab to upload any JPG and PNG image for design purposes, like logos or icons. The Add Text button creates a text box that remains consistent on every certificate.

To customize your design, access the Attributes option in the left menu and easily add various attributes like Recipient Name and Credential ID by dragging and dropping them. To remove any attribute, simply click on it and then use the Trash icon on the top menu (Avoid manually deleting an attribute by pressing backspace on your keyboard).
Adjust the font, size, and color of the text using the options provided in the top menu.

Utilize the QR Code feature to include scannable QR codes on your digital certificates. Access the QR Code tab to incorporate a QR Code onto your certificate, and adjust its colors by selecting the paintbrush icon at the top.

Once you create your design, you can click Save Design and proceed to send your certificate.
Related Article: Credentials Complete Guide