
By integrating Sertifier with your Moodle LMS, you have the capability to effortlessly send automated credentials using three distinct setup options:
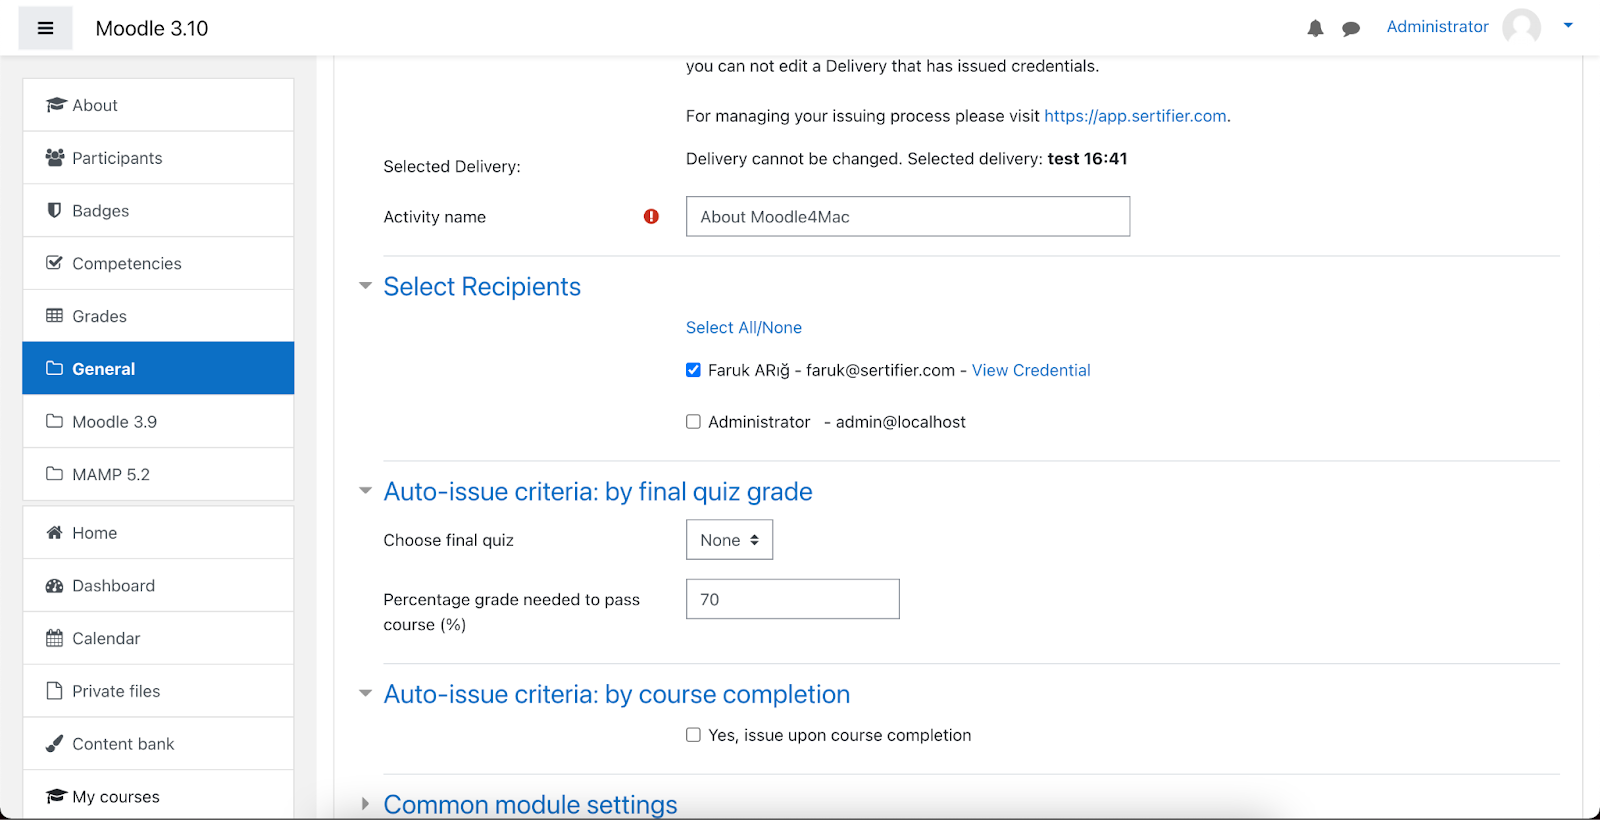
- Choose recipients from a list of the courses students and send credentials instantly
- Set a final quiz grade criteria to only send credentials to students who match the criteria automatically
- Send credentials automatically upon course completion
To start the integration setup process, go to Sertifier’s plugin directory site. Click on the Install Now button and select the site where you wish to set up the integration. Once this step is completed, you will be redirected to your chosen Moodle site to proceed with the standard plugin download steps and complete the download process. In these steps, Moodle will ask for your API key which you can find from the Sertifier app in Settings > API & Integrations.
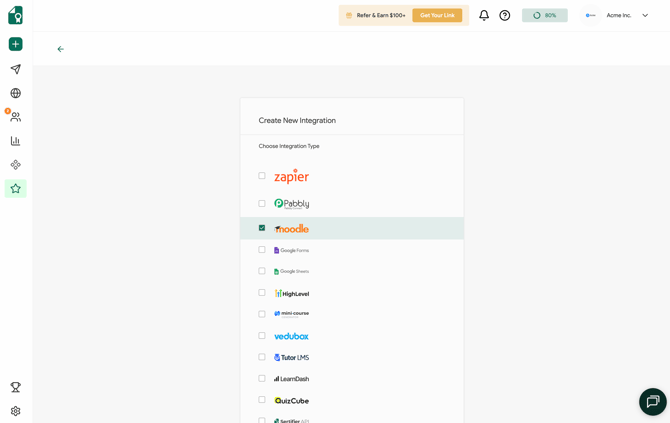
After successfully downloading the plugin, return to the Sertifier app to set up your integrated credential. Go to the Advanced > Integrations tab from the left sidebar and click Create a New Integration. A page will be displayed with a list of integration options available for selection, where you can choose Moodle to proceed. Upon selecting Moodle, the certificate configuration page will appear, allowing you to create or choose the previously created components.
Design Credential
Click the green checkmark next to the credential design to select your preferred design. If you do not have a design yet, you can click on Create New Design to access the Credential Designer. You can click here for more detailed information about the Credential Designer.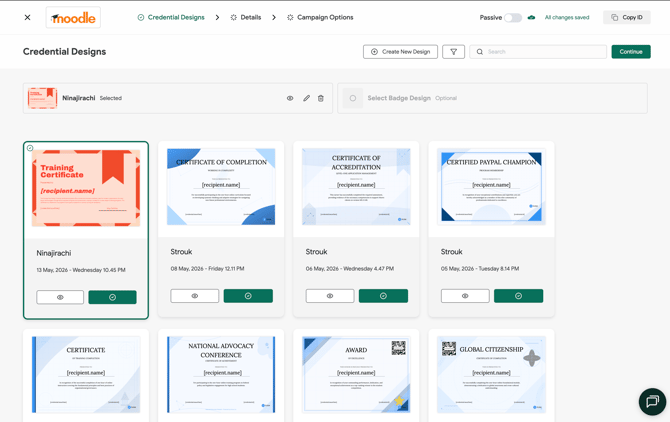
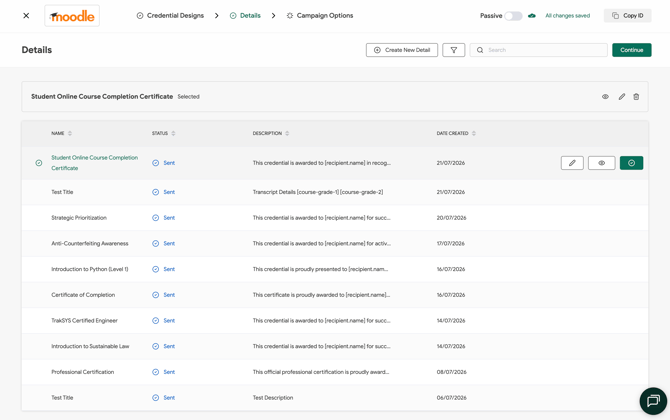
Creating Details
Click the green checkmark to select one of your existing credential details, or click Create New Detail to create a new one.
The Credential Details page is where you can input all the essential information for your digital credentials. This section enables you to complete the necessary details for your certificates. Click here for more detailed information on how to create certificate details.
Campaign Options
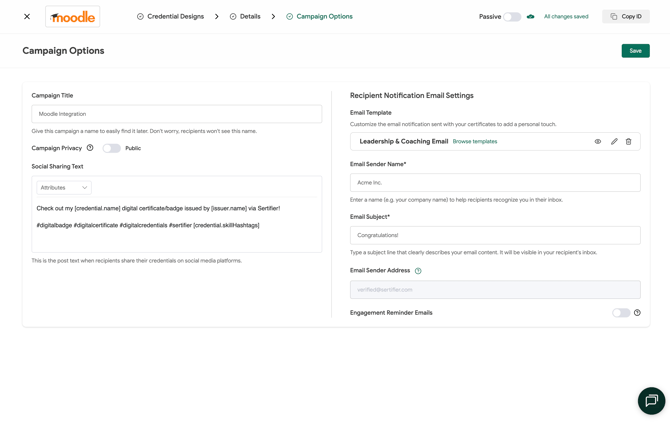
In the Campaign Options step, you can customize the Campaign Title, as well as the Social Sharing Text.
Under Recipient Notification Email Settings, you will be able to select or create a new custom email template to issue your credentials with by clicking Browse Templates.
Email Template
The Email Template tab is where you can customize the email that will be sent to your certificate recipients.
You can find more detailed information here.
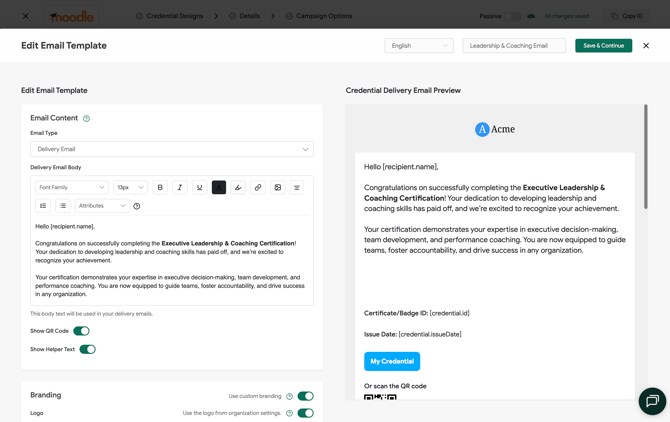
For a complete guide to sending Digital Credentials, you can click here.
Once all components are selected and saved, toggle the status of your integrated campaign to Active, indicating that the credential is now fully prepared for integration.
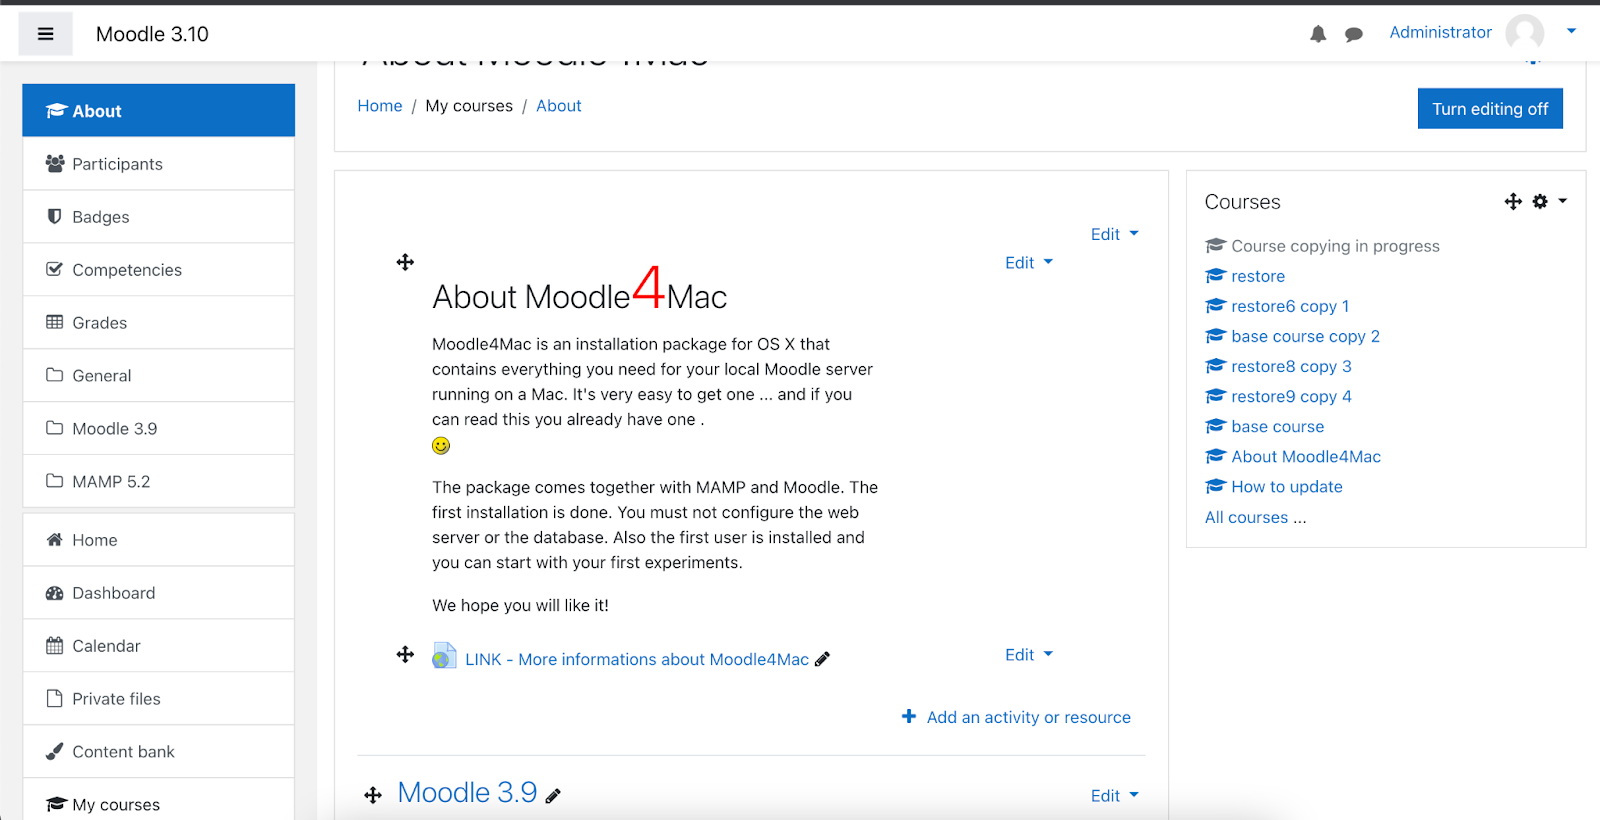
To connect this credential to your Moodle course, simply navigate to the desired course in Moodle and click on Add an activity or resource. This action will open a pop-up window where you can search for and select Sertifier.
Within the Sertifier plugin configuration page, select the credential you've created from the dropdown list in the Select Delivery field. Once chosen, proceed to customize the various sending options and save your selections.
Congratulations! Now you’re all set and ready with your integration.