Create a Course On Thinkific
To begin the process of creating your Thinkific course, go to the "Manage Learning Products" section, select "Courses", and then click the "+ New Course" button located in the top right corner.
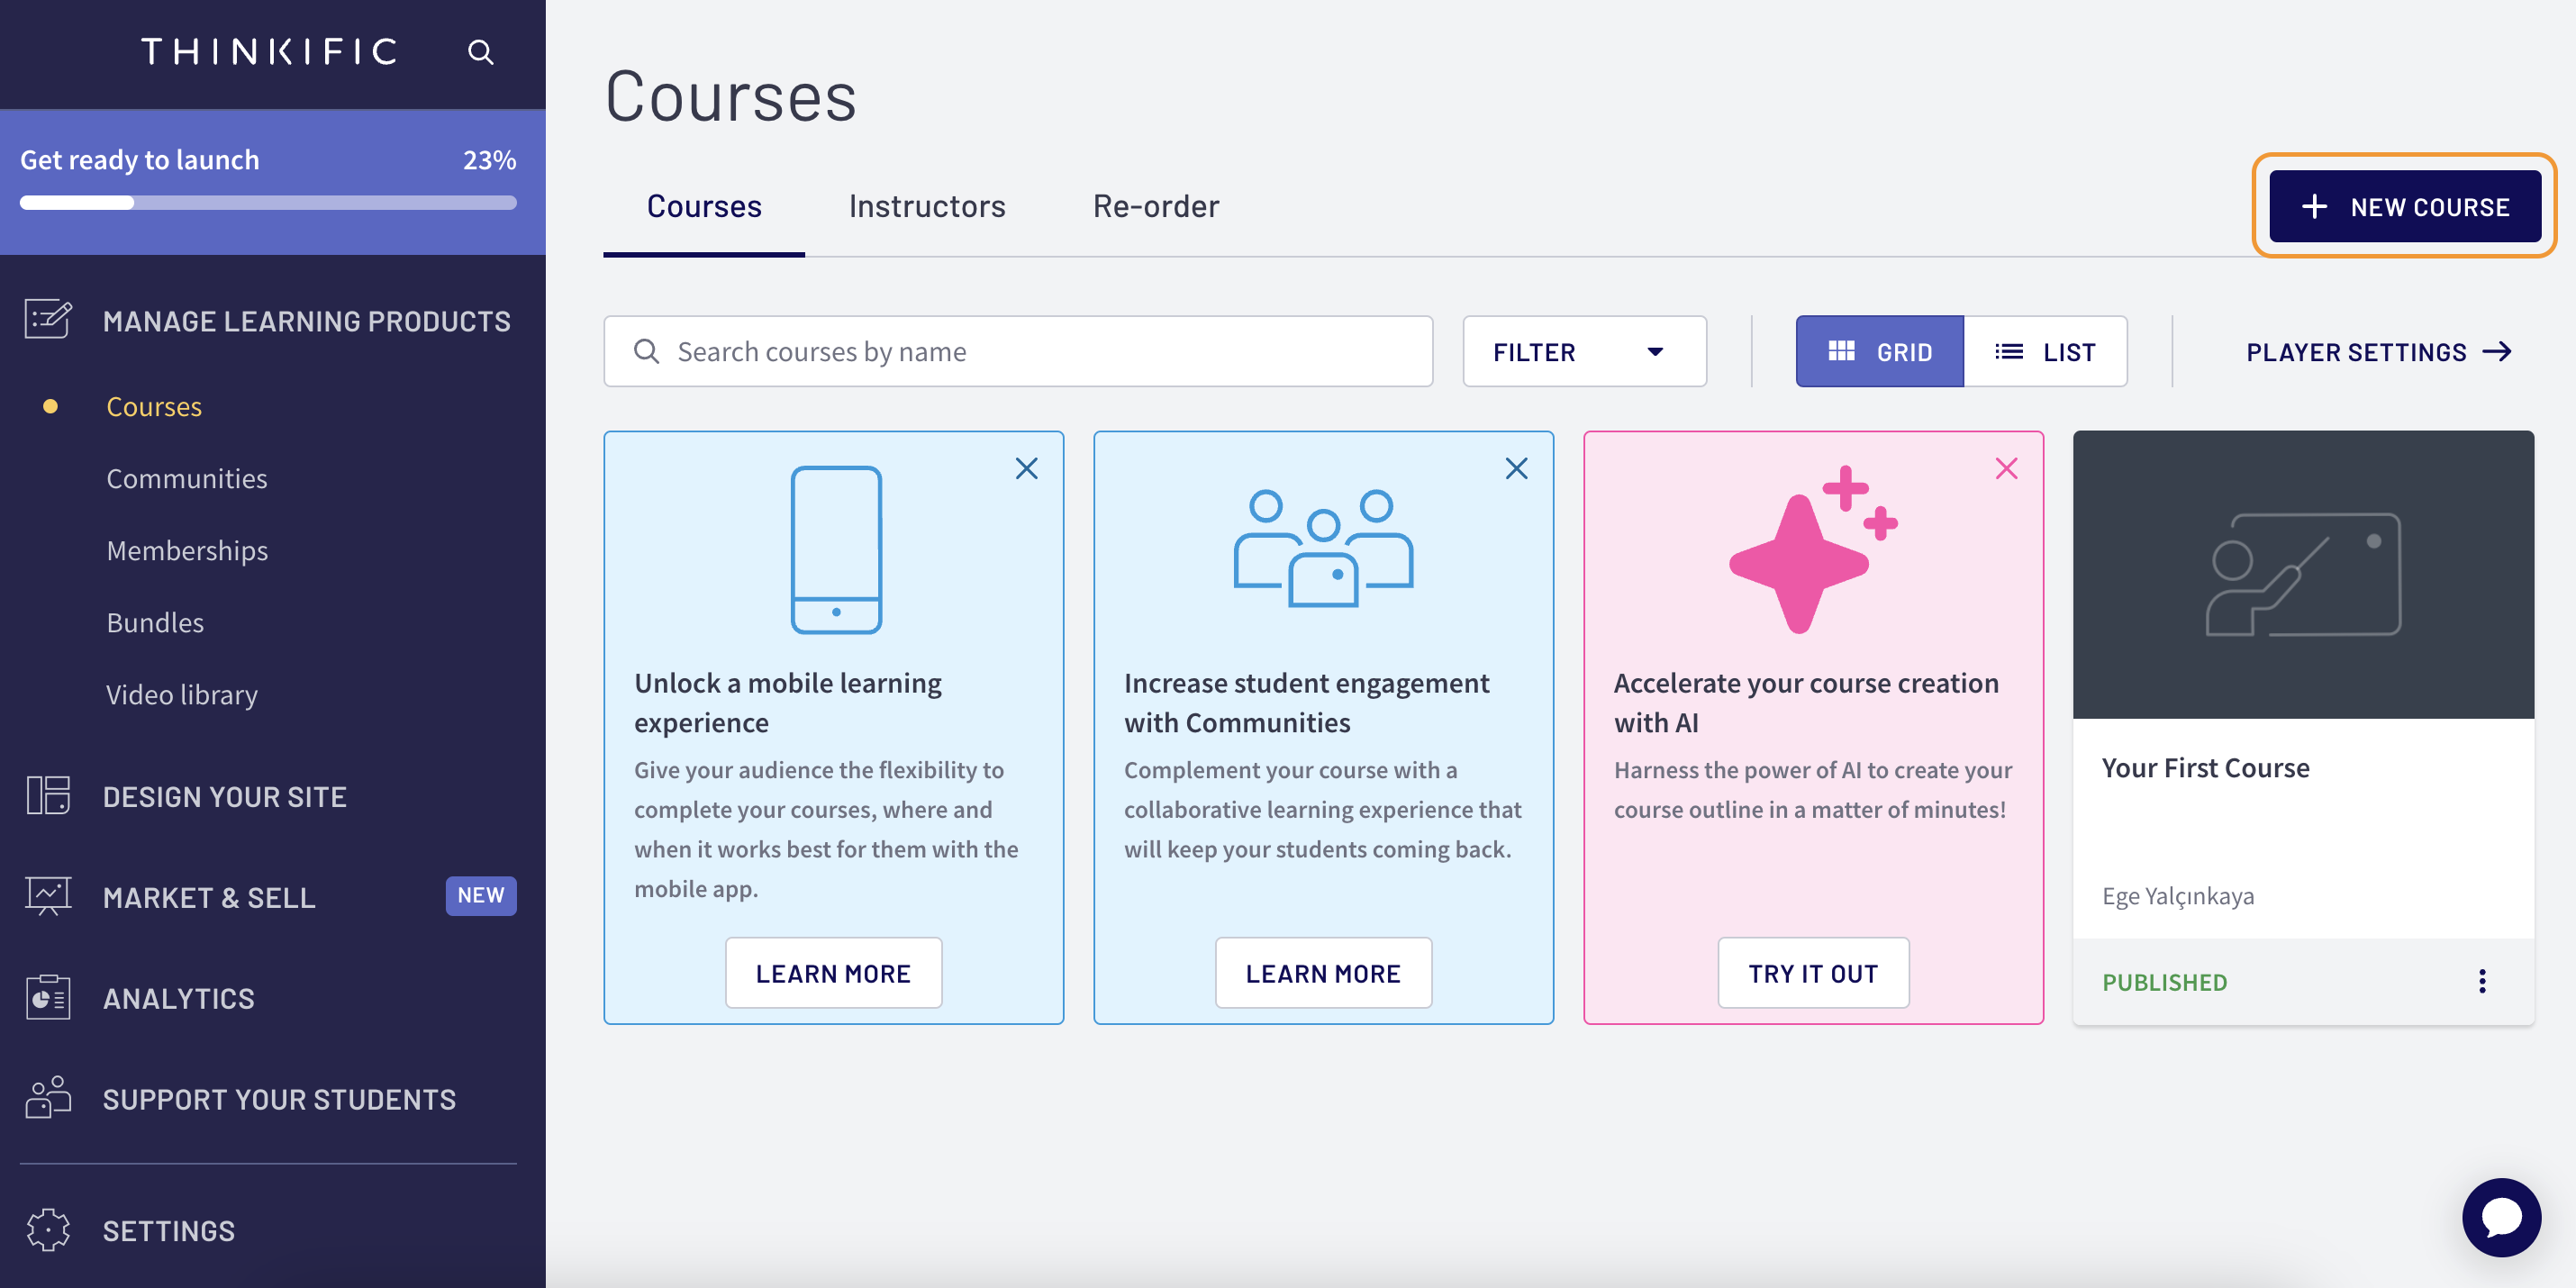
Select a course template and provide a name for your course.


Step 1 - Select a Level of Knowledge: Choose the appropriate level of knowledge that your course is designed for. Consider whether it's a beginner, intermediate, or expert level.
Step 2 - Describe Your Audience: Define your target audience. Who is your course intended for?
Step 3 - Provide a Description that Solves a Problem: Write a course description that clearly articulates the problem your course is designed to solve for your students.
Step 4 - Expected Outcomes for Attendees/Students: Outline the expected outcomes or learning objectives for attendees or students who complete your course. What skills, knowledge, or abilities will they gain?
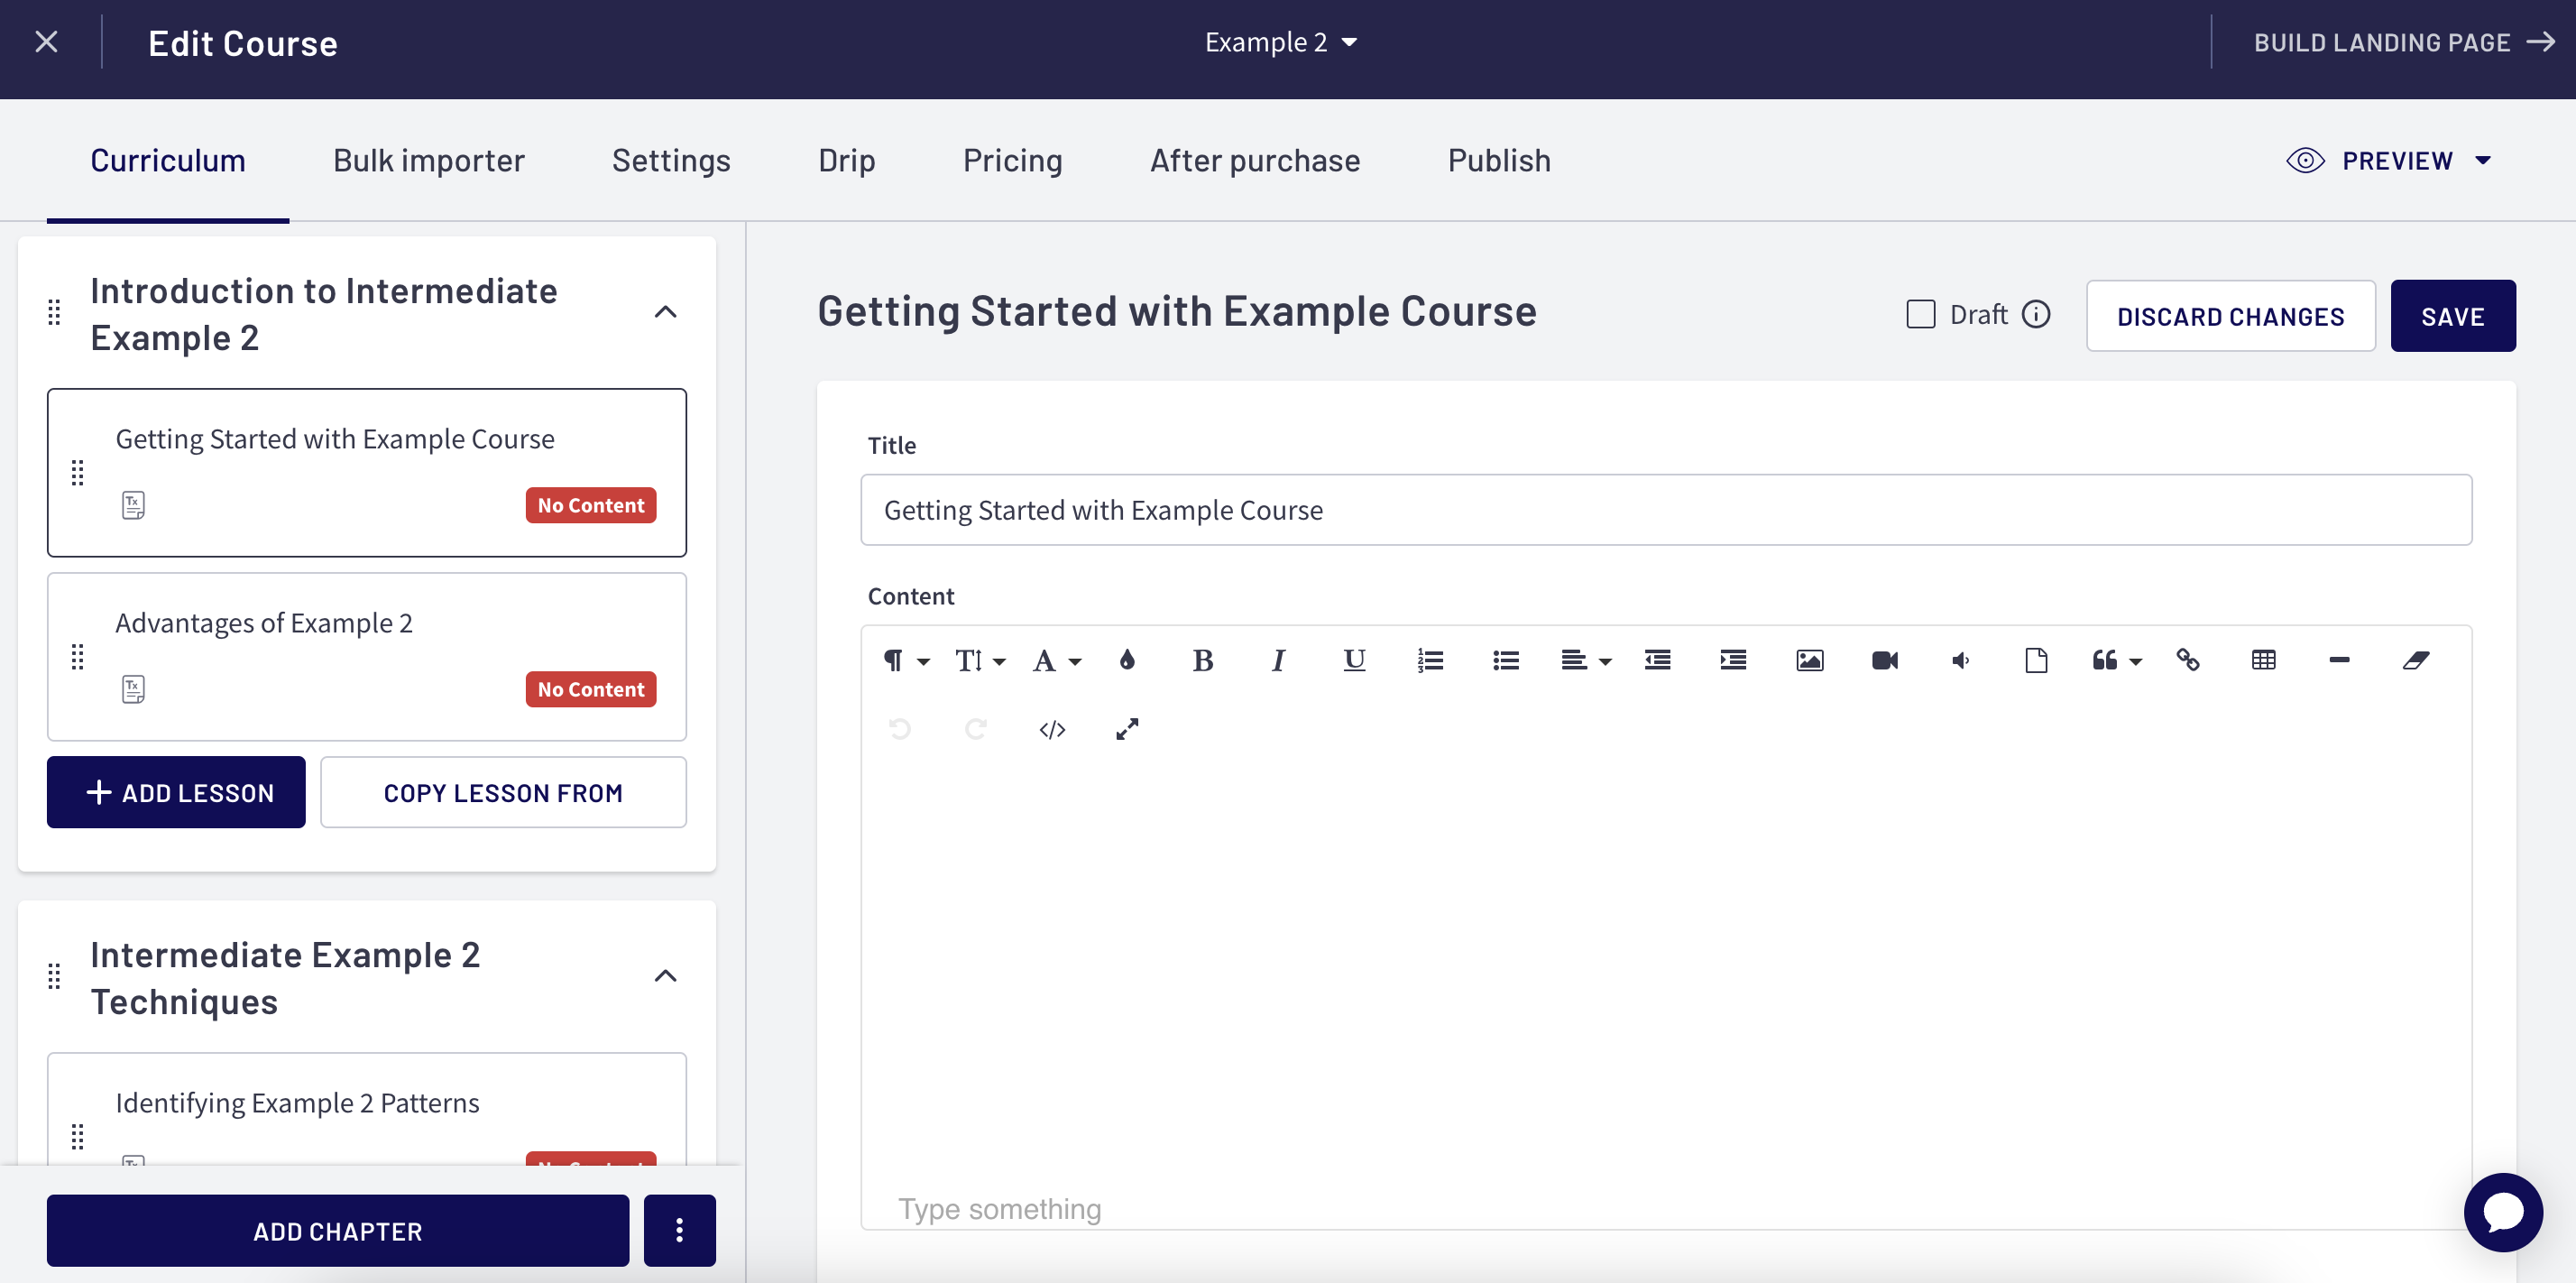
Afterwards, you will be able to create and manage all the details of your course.
For more information on creating a course on Thinkific, please visit the Thinkific Help Center.
Connect Your Sertifier Account
Install the App in Thinkific
To start the integration process, you need to install the app in Thinkific.
-
Navigate to the Integrations tab on your Thinkific account and click Visit App Store in the top right corner.
-
Search for Sertifier, and click Install the app.
-
You will be redirected to your Sertifier account once you click “Accept and Install”.
-
You can see that your Thinkific Integration is shown as Active.
Once you’re signed in, it means your Sertifier and Thinkific accounts are now connected. Now the only step left is to create a credential campaign that is going to be sent once an attendee finishes your course.
Create Your Credential Campaign
*Go to the Advanced > Integrations tab from the left menu of your Sertifier account.
*Click Create New Integration from the top left corner.
*Select Thinkific from the integrations, and choose the course you created on Thinkific.

*Proceed with creating the credential details, credential design, and email template.
Credential Detail
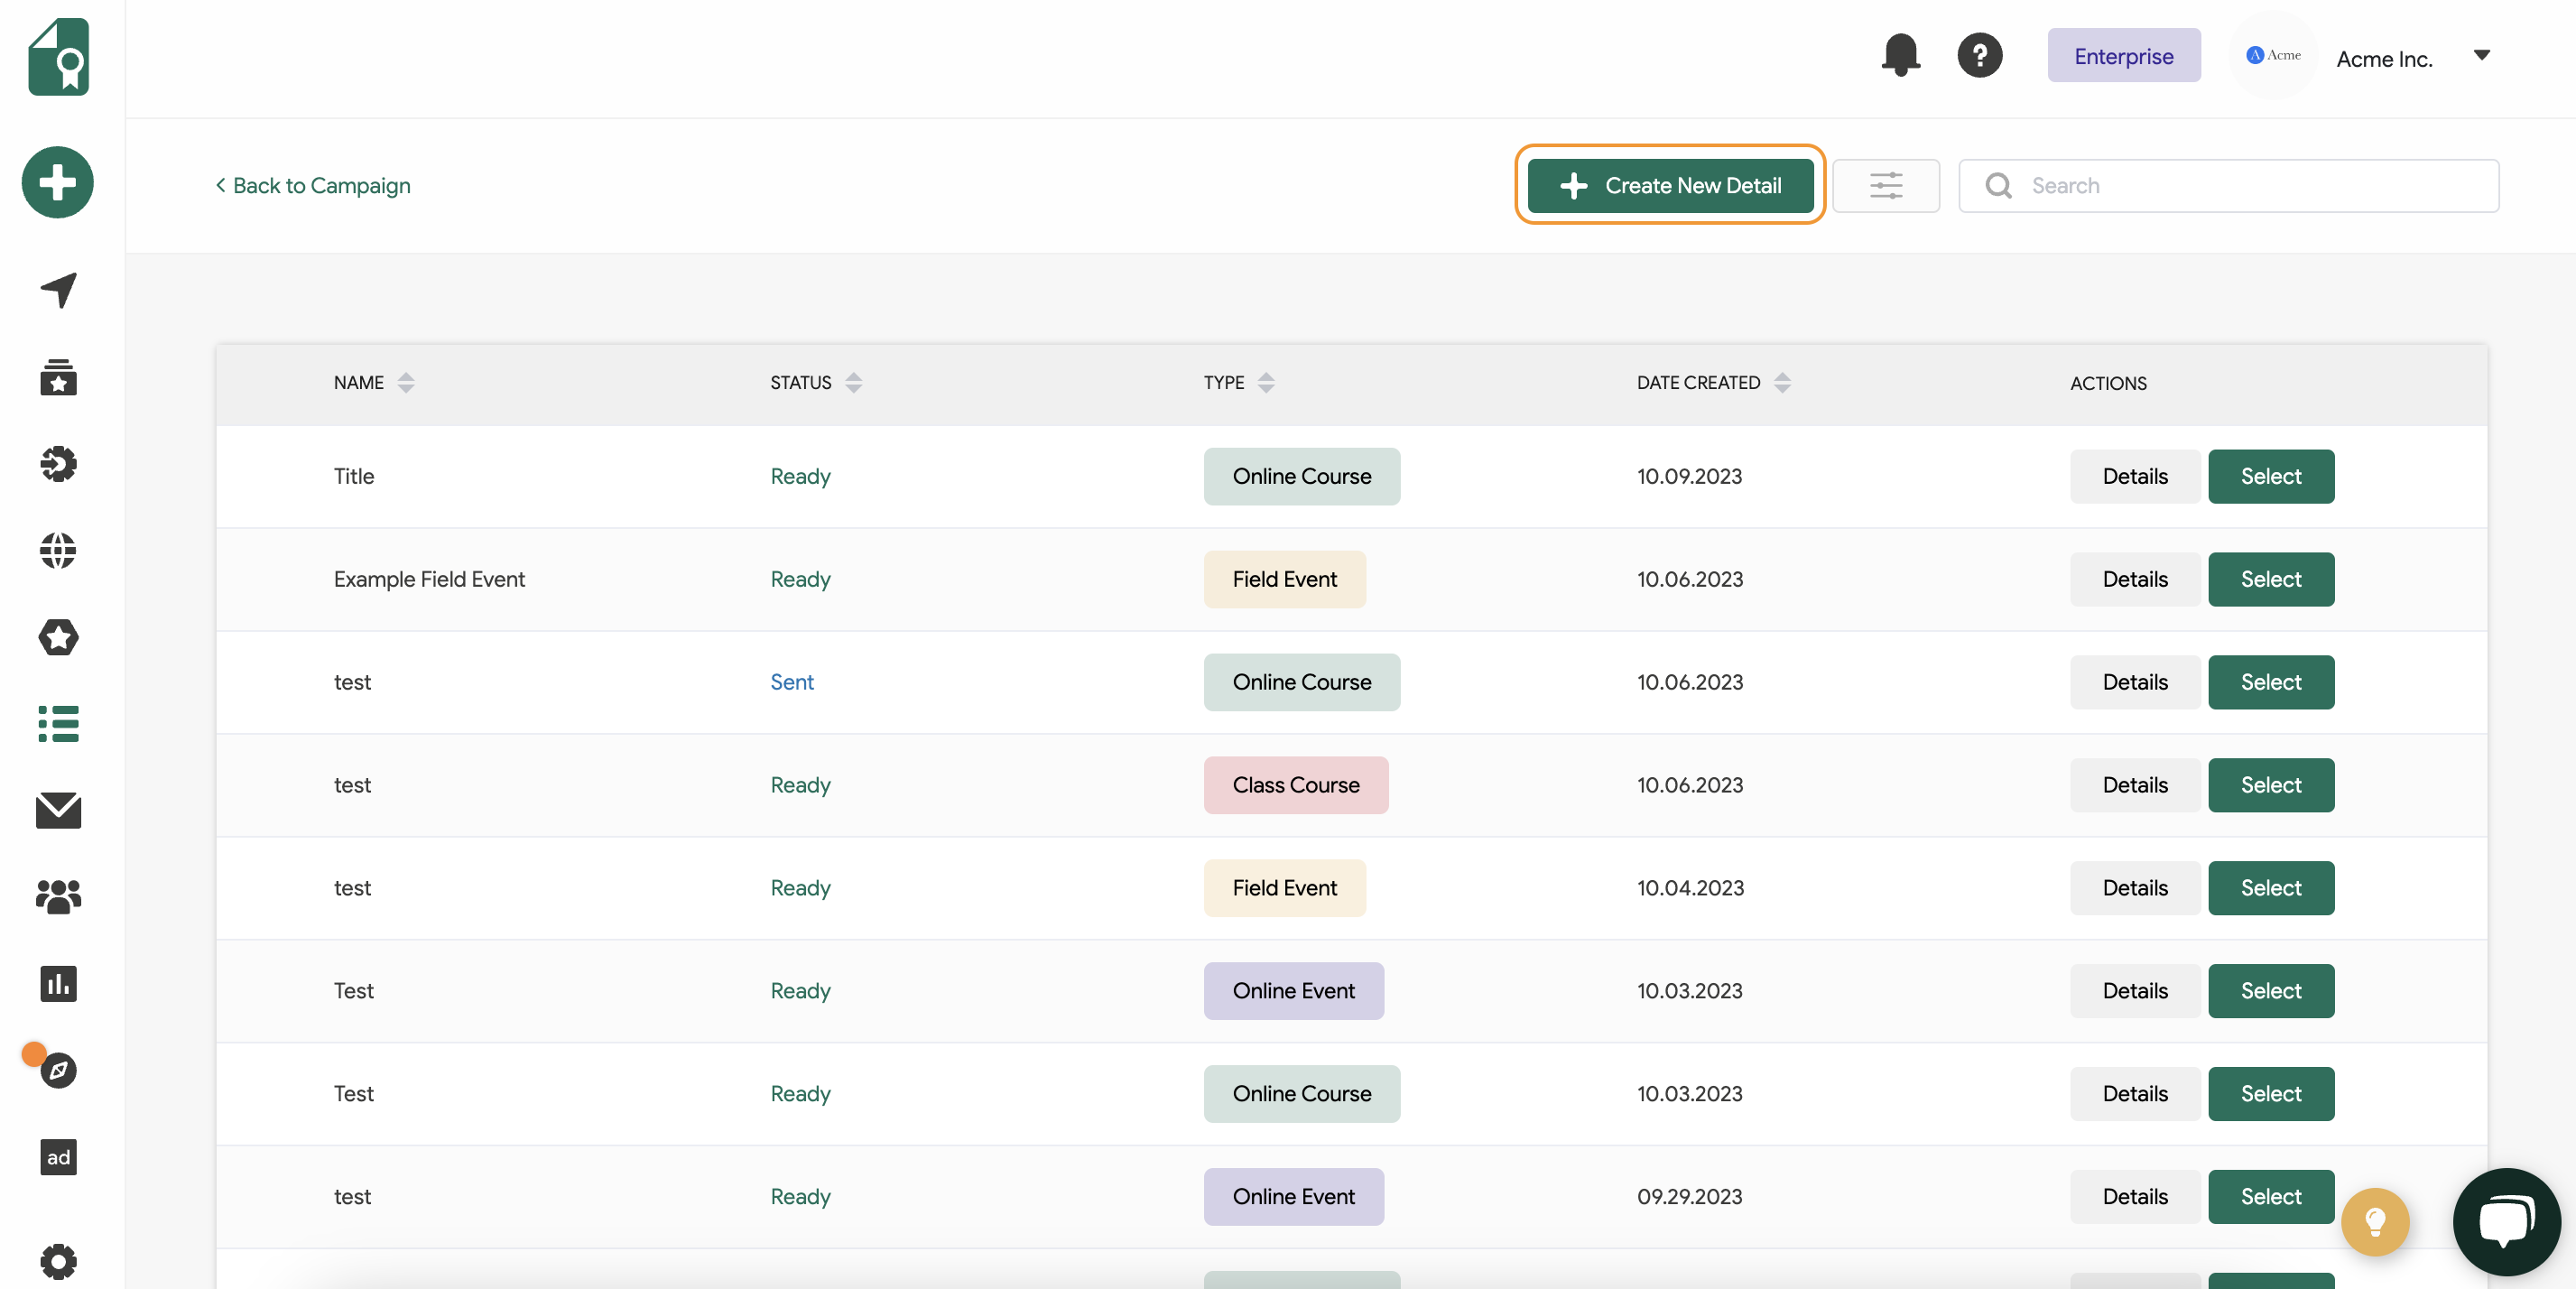
The detail page is where you input the information for your digital credentials.
Within the credential campaign flow, click on "Select Detail", and then proceed by clicking the Create New Detail button.
1.Fill in the Credential Title
Begin by entering the title for your credential. This title will serve as the primary identifier and should clearly reflect the nature of the credential being issued.
2.Fill in the Credential Description
Next, provide a detailed description for the credential. This description should convey the purpose, significance, and any pertinent details about the credential to help recipients understand its value and relevance.

3.Add Relevant Skills
- Search for Existing Skills: Utilize relevant keywords associated with the credential to search for skills within our database. When you add a skill, related skills will also become accessible, offering you additional options that may be pertinent to your credential.

- AI Generated Skill Suggestions: Our AI bot will automatically suggest relevant skills based on the title and description you’ve provided.

- Add Custom Skills: If you cannot find a suitable skill, you have the option to add a custom skill. Simply type the desired skill into the search bar. If the skill does not appear in the suggestions, scroll to the bottom of the list and click on the option to add a custom skill.

 4.Choose Optional Fields
After adding the necessary details and skills, you can choose to include any optional fields in your credential. These optional fields allow you to further customize the credential to fit your specific needs and requirements.
The optional fields you can add to your credential detail includes: Credential Type, Duration, Cost, Level, Earning Criteria, Expiry Date, and Supporting Documents.
Credential Design
Within the credential campaign, click either the "Select Badge Design" or "Select Certificate Design" option, or create both of them under the same campaign. Then, select Create New Design to customize your credential design.

For more details on further customizing your credentials, click here.
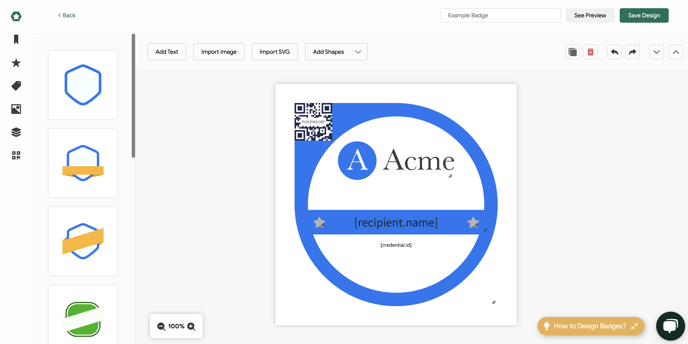
Once you've finished customizing your credential design, save it, and then continue with your campaign with the email step.
Email Template
Proceed with "Select Email Template", and click the Create New Email button.
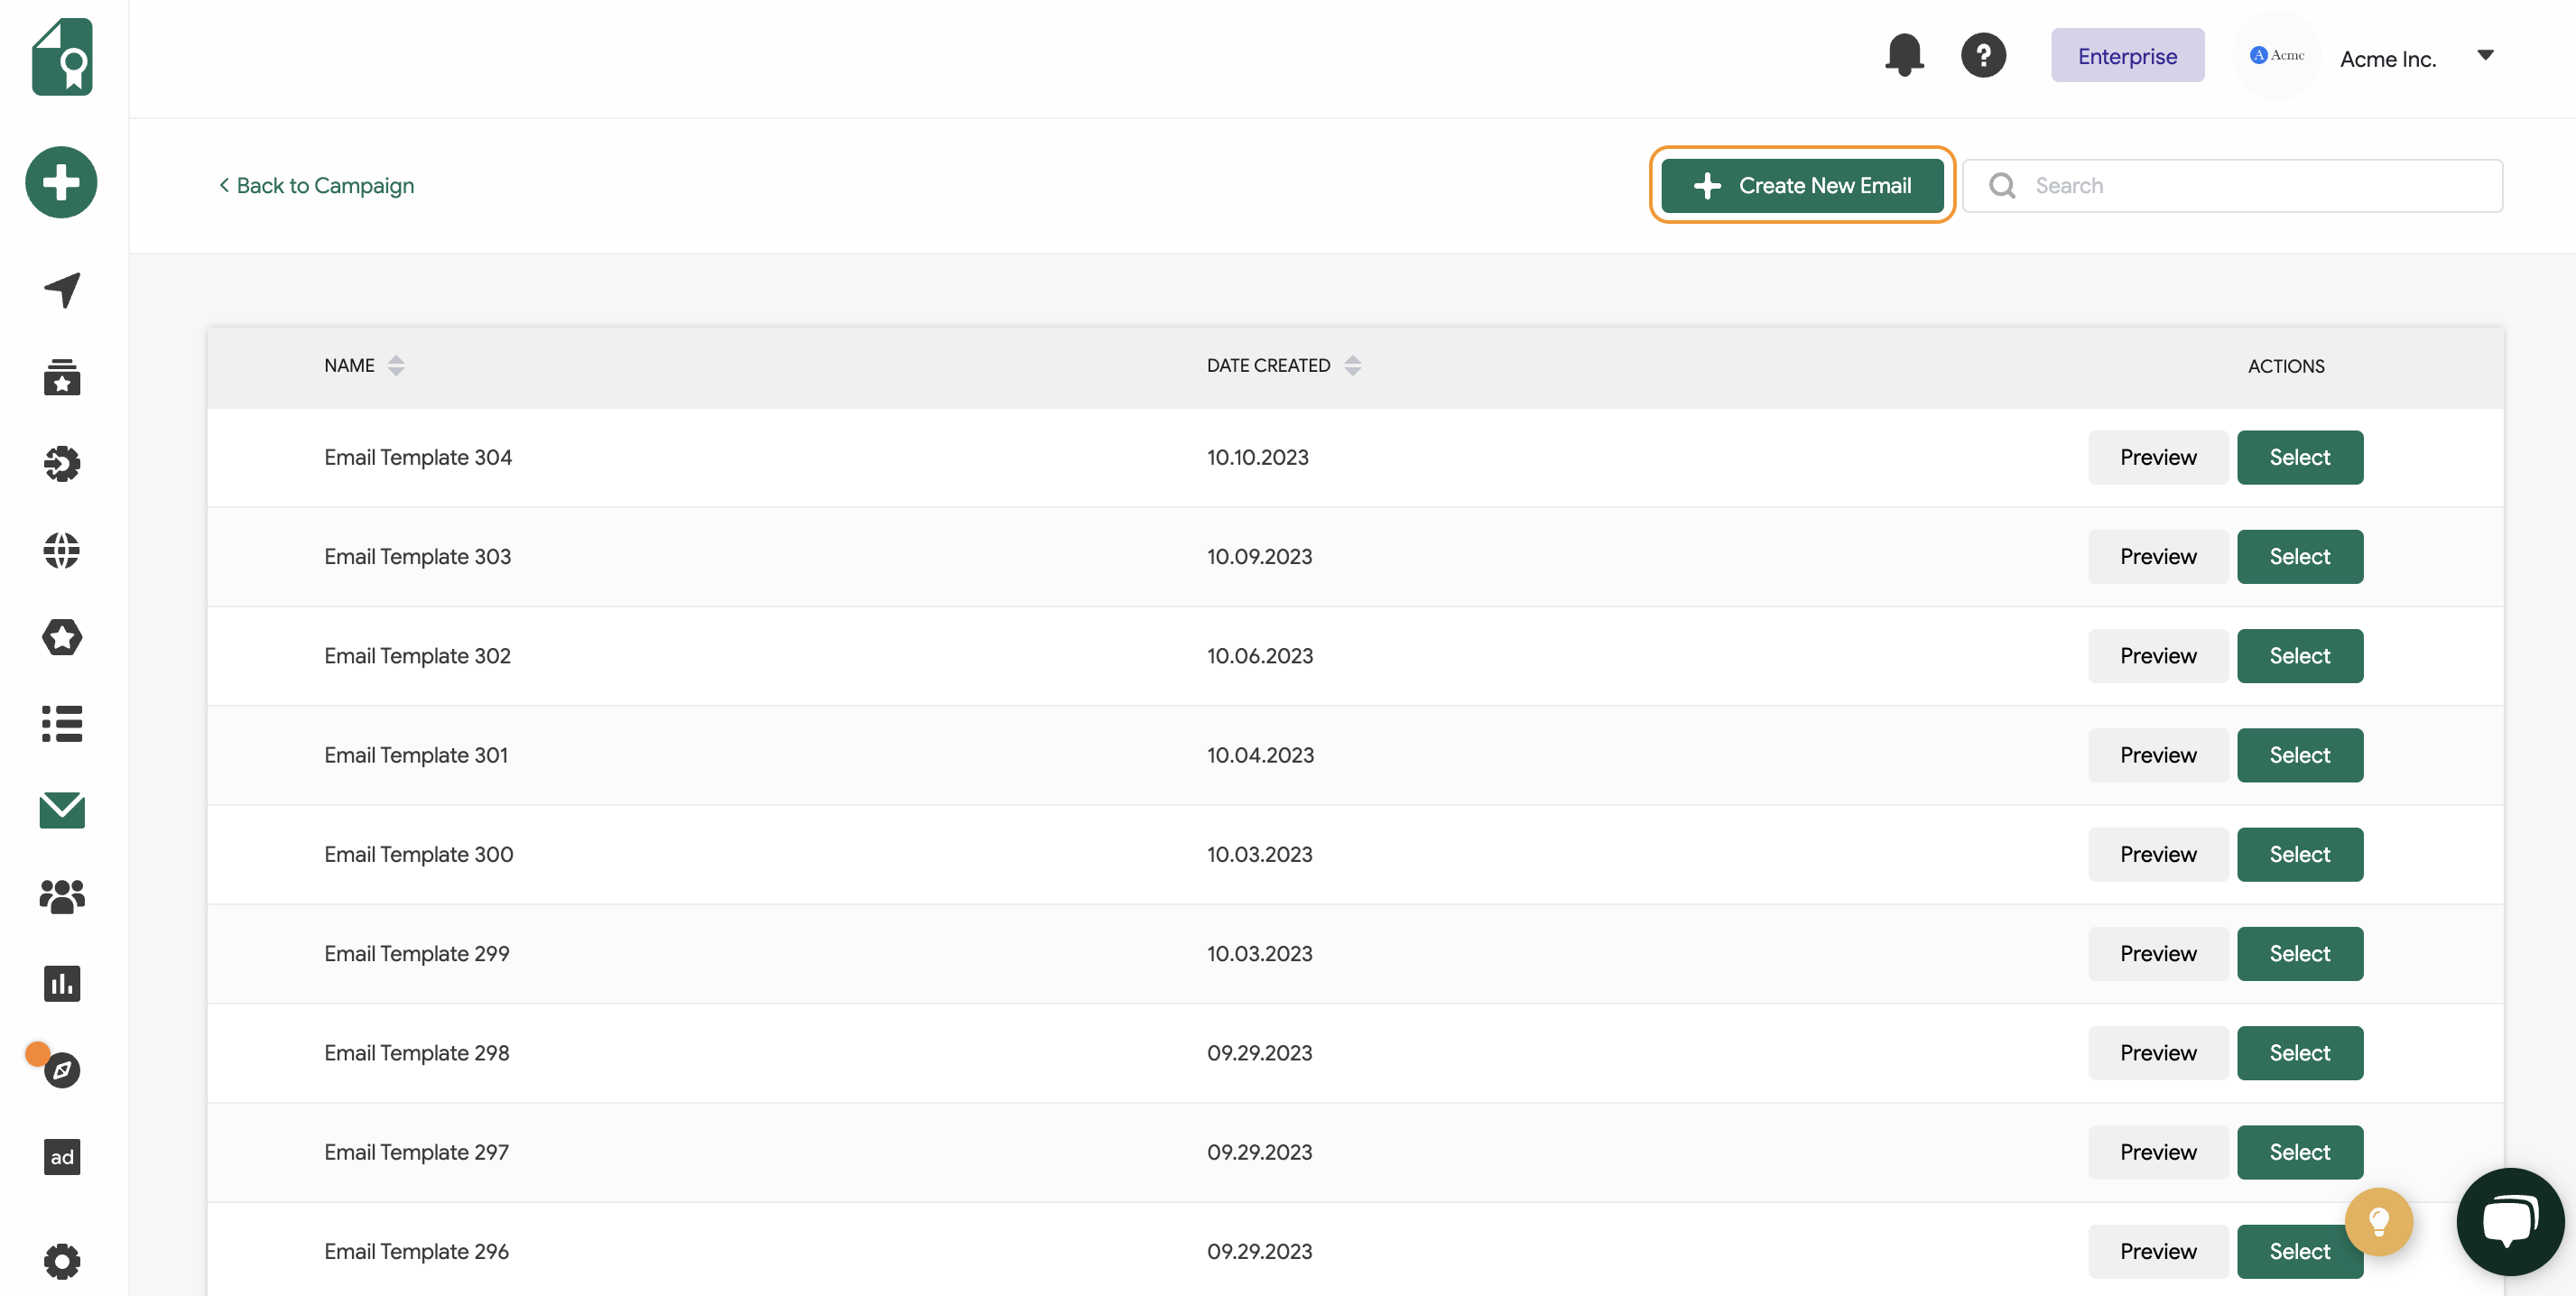
The 'Email Template' tab is where you create and customize the email you'll be sending the credentials to your recipients. Here, you have the flexibility to personalize your email according to your preferences. For more detailed information, please refer to this help article.

Recipients
Your recipients will be retrieved automatically as they complete your course on Thinkific.
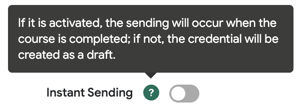 You have the option of disabling the automatic sending of your credentials upon course completion by switching off the Instant Sending button inside your credential campaign.
Attributes
Attributes are what make up your credential - they're the details that make a credential unique.
These attributes are integrated into the credential design, and automatically populated with the information you provide.
Available System Attributes
| recipient.name | The recipient's name is automatically obtained as your attendees complete the Thinkific courses. |
| issuer.name |
The issuer's name is automatically retrieved from the Settings > Organization > |
| credential.name |
Credential name information is obtained from the title of your credential detail. |
| credential.id |
The credential ID is generated uniquely for |
| credential.campaignName |
Credential campaign name information is obtained from the title of your credential |
| credential.description |
Credential description information is obtained from the description field you've filled out |
| recipient.email |
The recipient emails are automatically obtained from your recipients. |
| recipient.expireDate |
The expire date information is taken from the chosen credential detail. |
| thinkific.courseName |
Thinkific course name information is obtained from the course name you have set on |
| thinkific.userCompany |
The Thinkific user company attribute is |
For further information, reach out to us at support@sertifier.com.