To create a credential design, navigate to Components > Credential Designs in the left menu, then click the "Create New Design" button to begin.
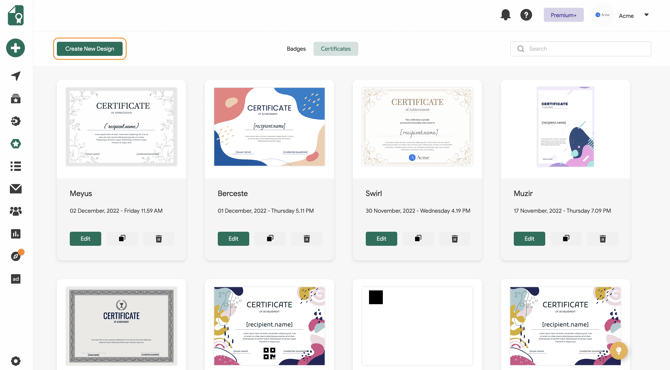
You can switch between the Badges and Certificates tab based on the type of credential you want to create.
Create Credential Design
Choose From Existing Designs
For certificates, you can select one of seven size options from the menu in the upper left corner.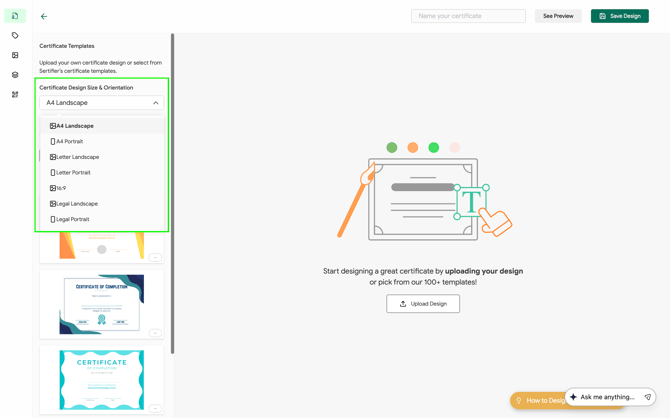
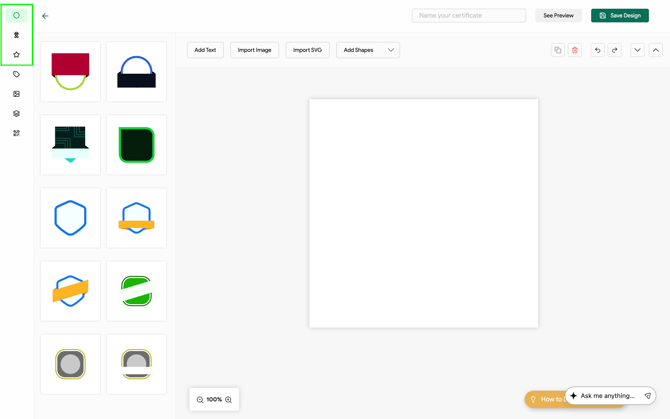
For badges, you can explore the Bases, Ribbons, and Icons categories to create your own design.
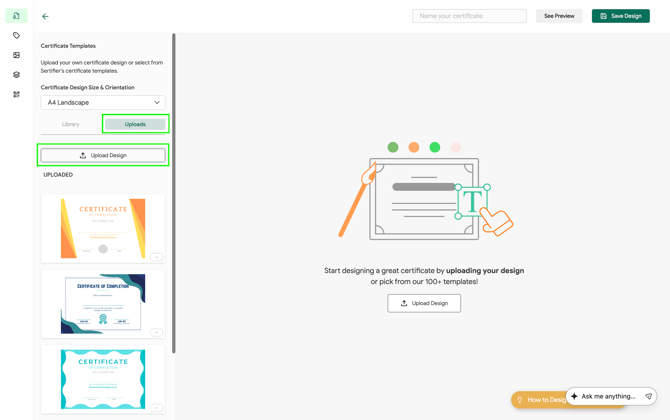
Upload Your Own Design
When creating a certificate design, you can use the Upload Design button to upload your pre-made design to the app.
When designing a badge, you can use the Import SVG or Import Image options to bring your own badge design into the app.
Supported file formats and dimensions
Before uploading a background image or creating a new design, refer to the following specifications to ensure your files are compatible.
Certificates
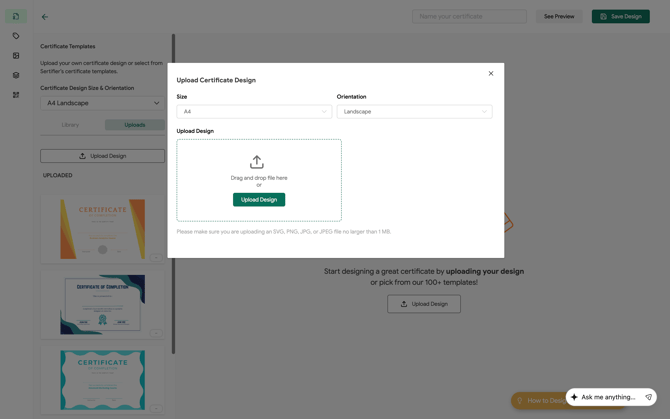
- Accepted file formats: SVG, PNG, JPG, or JPEG
- Maximum file size: 1 MB
- Orientation: Horizontal (landscape) or vertical (portrait)
- Supported size presets: A4, Letter, Legal, or 16:9 widescreen
Choose your size preset in the designer before you upload your image. The preset you select determines the canvas dimensions — make sure your design matches the chosen orientation and ratio.
Badges
- Aspect ratio: 1:1 (square)
- Accepted file formats: SVG or image file (PNG, JPG, JPEG)
- Recommended dimensions: 3000 × 3000 pixels for high-resolution output
Using the recommended 3000 × 3000 pixel size ensures your badge looks sharp when displayed at any size, including on LinkedIn profiles and credential verification pages.
Add Additional Elements

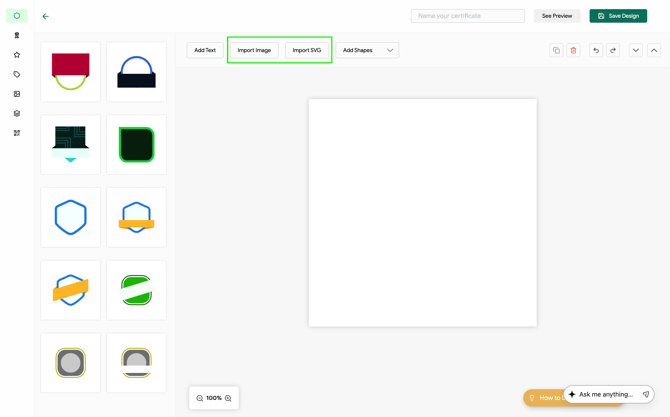
To add a text area to your certificate, you can add it by clicking the "Add Text" button on the top left of the Design tab.
You can change the size, location of the text field you added and change the fonts and edit your text.

 To add an image to your credential, simply click the "Import Image" button at the top of the credential designer.
Once you upload your file, you can adjust its size and location.

Attributes
 To add attributes to your credential—such as Recipient Name, Course Name, or Issue Date—navigate to the Attributes tab on the left side of the credential designer.
Next, select the attribute you want to add from this tab. After it is added to your design, you can customize its color, position, and size.
Recipient Name information is automatically obtained from the recipient list you uploaded to the Recipients tab.

The same process applies to all other existing attributes. To include any attribute in your credential, simply click it and it will be added automatically to your design.
Course Name information is automatically obtained from the information you create on the Credential Details page.
Issue Date information is automatically obtained from the day you sent a credential.
Issuer Name information automatically takes the name of the institution in your Settings > Branding page.
Custom Attributes
Simply click on the "Create Custom Attribute" button at the bottom of the Attributes tab to create a custom attribute. 
Select a custom attribute type from the list (text, date, or number). After entering the details, click the Add button; your custom attribute will be created and added to the Custom Attributes list. When you click this attribute, it will be placed on your credential, where you can then adjust its color, size, and position.
The values for these custom attributes are automatically pulled from the fields you mapped while uploading your recipient list to the Recipients tab.

To remove any of the attributes from your credential design, simply click on the attributes above your credential and click the Trash icon in the upper right. Another method to delete an attribute is to find and delete it from the Layers tab on the left menu.

Now that you completed all the steps to creating a credential design, you're ready to complete other steps and send your credential.
Related Article: Credentials Complete Guide