What is Ads Tool?
The Ads Tool allows you to customize the ad banners on your credential pages.
You can customize the banners displayed on your credential pages with the Ads Tool.
To create a new ad, navigate to the Ads tab from the left menu in your account, and click the Create New Ad button.

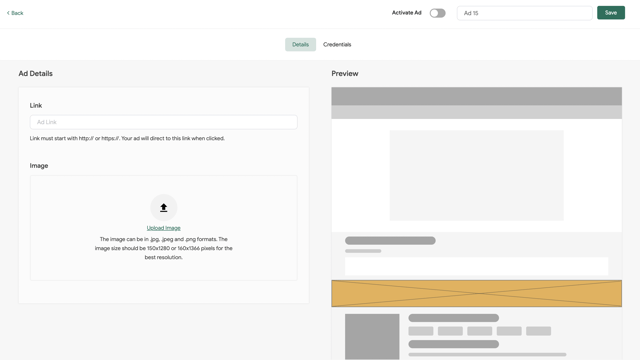
Once you click on that button, a page where you can upload your image for the ad and add the details will be shown.
Here, you can upload your custom image that will be shown on your credential pages. The image can be uploaded in JPG, JPEG, or PNG format. You can also add a link for your image.
Here, add the link to be inserted in your banner and upload your banner image. The image should be uploaded in JPG, JPEG, or PNG format and the size should either be 150 x 1280 or 160 x 1366 pixels.

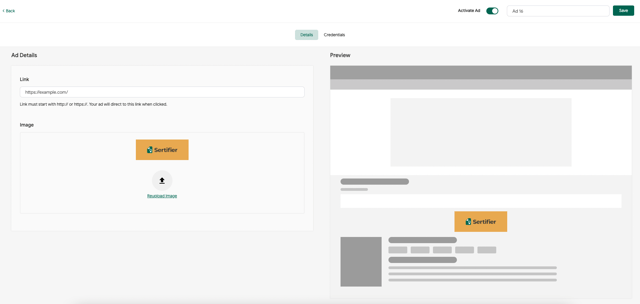
Once you upload your image, you can see its preview on the page where it will be displayed.

To choose the credentials that you would like this ad to be shown on the credential pages, switch to the Credentials tab. You can create this ad for an already sent credential or a draft credential. Choose the credentials from the list and click the Save button.

Now that you've uploaded your image and chosen the credentials, you can click the Activate Ad button. If you wish to deactivate your ad in the future, you can click on the same button to deactivate it.
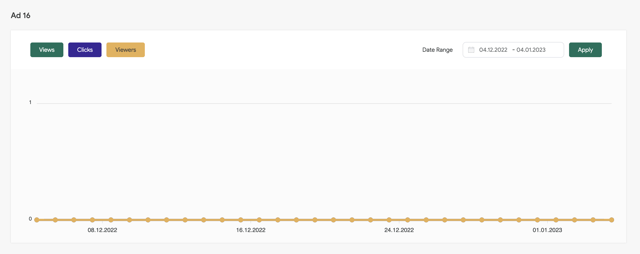
You can click on the Analytics button right next to your ad and it will direct you to the Marketing & Ads reports page, where you can see the views, viewers, and traffic sources of the ad you created.


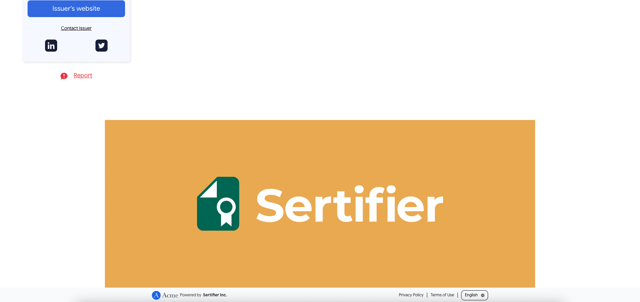
Once you complete all the steps and activate it, your ad will be shown above the footer area at the bottom of your verification page.

You can access more information by reading our article on Marketing § Ads Reports.