The Recipients tab enables you to effortlessly create and store individual recipients, as well as organize them into lists. This feature allows you to conveniently manage your recipients, ensuring that you can easily update their information as needed.
To begin, simply click on the Add Recipients button located within the Recipients tab and select Upload Spreadsheet.

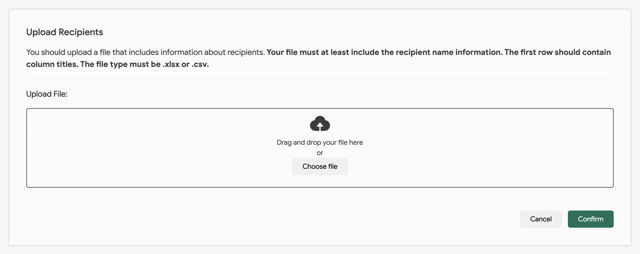
Then you can drag and drop your Excel file here, or click the Choose File button. You can upload an Excel or a CSV file.
After uploading your file, the recipients' information will be displayed. You can then easily match the attributes and columns by selecting the appropriate options from the Choose Attribute button next to each column. Once matched correctly, the columns will change color from yellow to green.


Upon uploading the file, you will have the option to update or retain the existing information of your recipients. If this is your initial file upload to the system, you can choose to skip this step.

After confirming, you will be prompted to add your recipients to a list. We suggest adding the same recipients to a list for future reference, as this will streamline the categorization of your recipients. By clicking the Add Recipients to Lists button, you will be directed to a page where you can create a new list or import contacts to an existing one. Once you have made your selections, simply hit Save to save the list.
That's it! Now that you uploaded your recipients, see how you can finish sending a credential campaign; Credentials Complete Guide