How to Create and Design Digital Badges?
A guide on how to create and design a digital badge.
You can send certificates and badges to individuals by easily creating your own design.
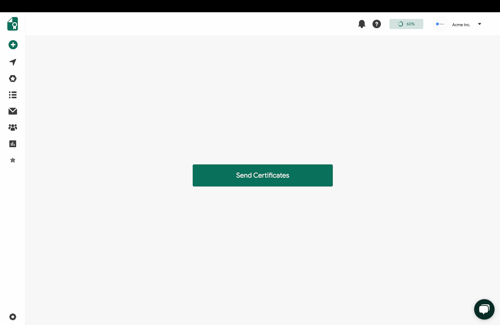
Select the "Send Certificates" button located in the Dashboard, or navigate to the left menu and choose "Create Campaign."

1. Credential Design
Next, choose a credential design. If you don't have any existing designs, you can start fresh by clicking on "Create New Design." Alternatively, you can select from your previously created credential designs.

For comprehensive guidance on creating a credential design, please refer to this detailed resource.
2. Details
In the Details step, you have the option to select from previously created Credential Details. If you prefer to create a new detail, simply click on "Create New Detail."

How to Create a Credential Detail?
Begin by entering the title for your credential. This title will serve as the primary identifier and should clearly reflect the nature of the credential being issued.
Next, provide a detailed description for the credential. This description should convey the purpose, significance, and any pertinent details about the credential to help recipients understand its value and relevance.
Search for Existing Skills: Utilize relevant keywords associated with the credential to search for skills within our database. When you add a skill, related skills will also become accessible, offering you additional options that may be pertinent to your credential.
AI Generated Skill Suggestions: Our AI bot will automatically suggest relevant skills based on the title and description you’ve provided.
Add Custom Skills: If you cannot find a suitable skill, you have the option to add a custom skill. Simply type the desired skill into the search bar. If the skill does not appear in the suggestions, scroll to the bottom of the list and click on the option to add a custom skill.
4.Choose Optional Fields
After adding the necessary details and skills, you can choose to include any optional fields in your credential. These optional fields allow you to further customize the credential to fit your specific needs and requirements.
The optional fields you can add to your credential detail includes: Credential Type, Duration, Cost, Level, Earning Criteria, Expiry Date, and Supporting Documents.
After you complete setting your credential details, click Save. The details for your credential have been successfully added.
3. Email Templates
In the Email Templates step, you have the option to choose from your previously created email templates. If you wish to create a new email template, simply click on "Create New Email."
For additional guidance on crafting an effective email template, please consult our comprehensive email templates guide.

4. Campaign Options
In the Campaign Options, you will need to assign a title to your credential campaign. Please note that this title will remain hidden from your recipients.
Next, adjust the campaign privacy settings. By setting your campaign to private, access will be limited to you and those individuals with whom you choose to share the credentials.
You have the option to modify the social sharing text that will be visible to your recipients. Feel free to include any pertinent hashtags to enhance visibility and engagement.
Finally, provide your Sender Name and the Email Subject. If you are utilizing a custom email domain, please ensure that you enter your domain address accordingly.

5. Recipients

To upload your recipients, click on the "Upload Spreadsheet" button. You can utilize either an Excel or .csv file for this process. Be sure to include any recipient attributes you wish to add as separate columns in your spreadsheet. Once you have uploaded the file, simply match the attributes accordingly.

6. Preview and Send
Once your campaign is prepared, you have the opportunity to review the credential pages and associated emails for each recipient you have uploaded.
On the Preview and Send page, you can:
- Set a specific time for your campaign to be sent by utilizing the "Schedule for Later" feature.
- You can preview the credential by sending a test version to yourself or a colleague using the "Send a Test Credential" feature.
If you are satisfied with the campaign and have reviewed all details, please click Send to proceed with issuing the credentials.


