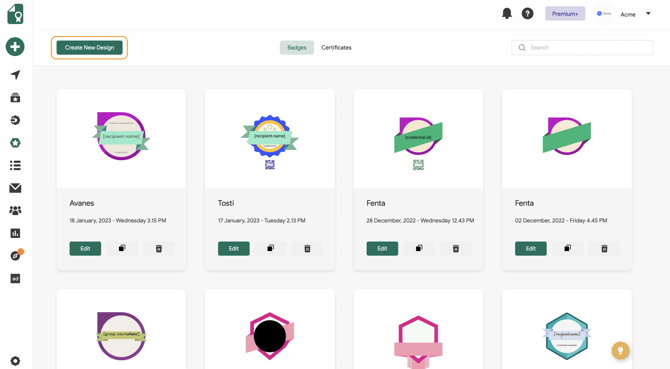
Access the Credential Designs tab located in the left menu under Components, then click on the Create New Design button.
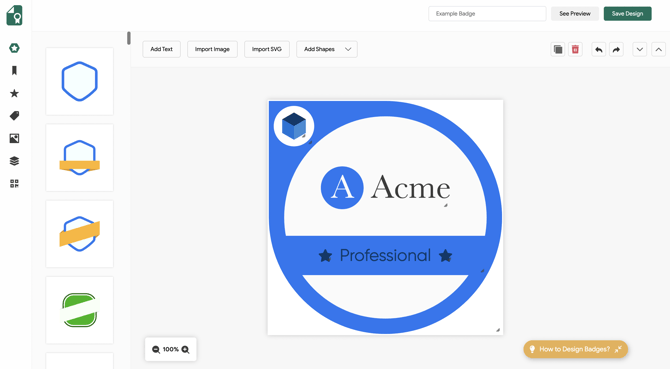
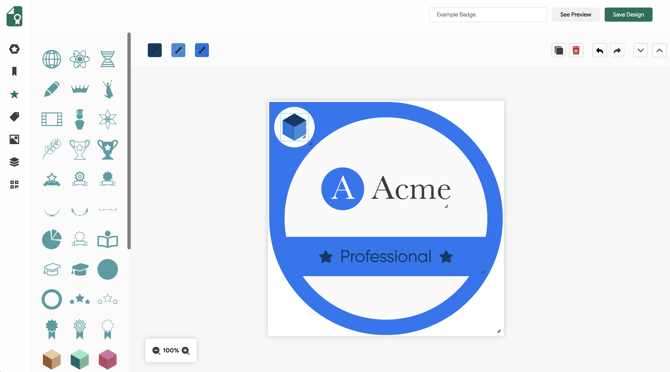
You can use the badge templates in the Bases section on the left menu.
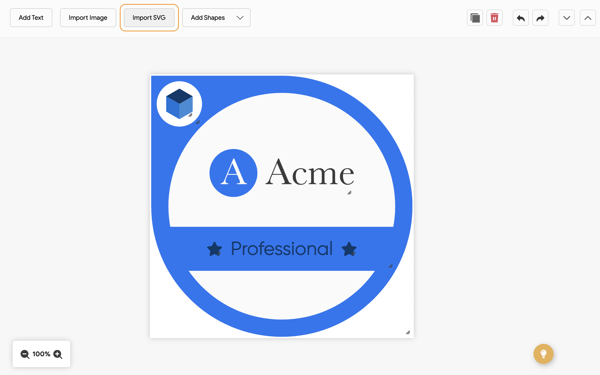
Alternatively, if you have a custom badge design, you can import it as an SVG file by selecting the Import SVG button.
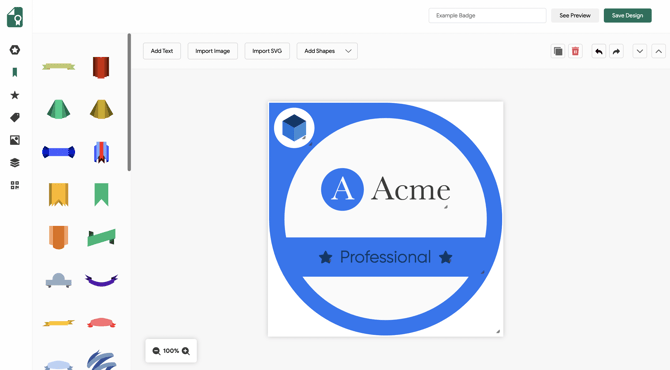
 You have the option to enhance your badge design by adding ribbons from the Ribbon tab on the left menu that complement your badge design.
You can choose the appropriate icon for your badge with the Icons option on the left menu.
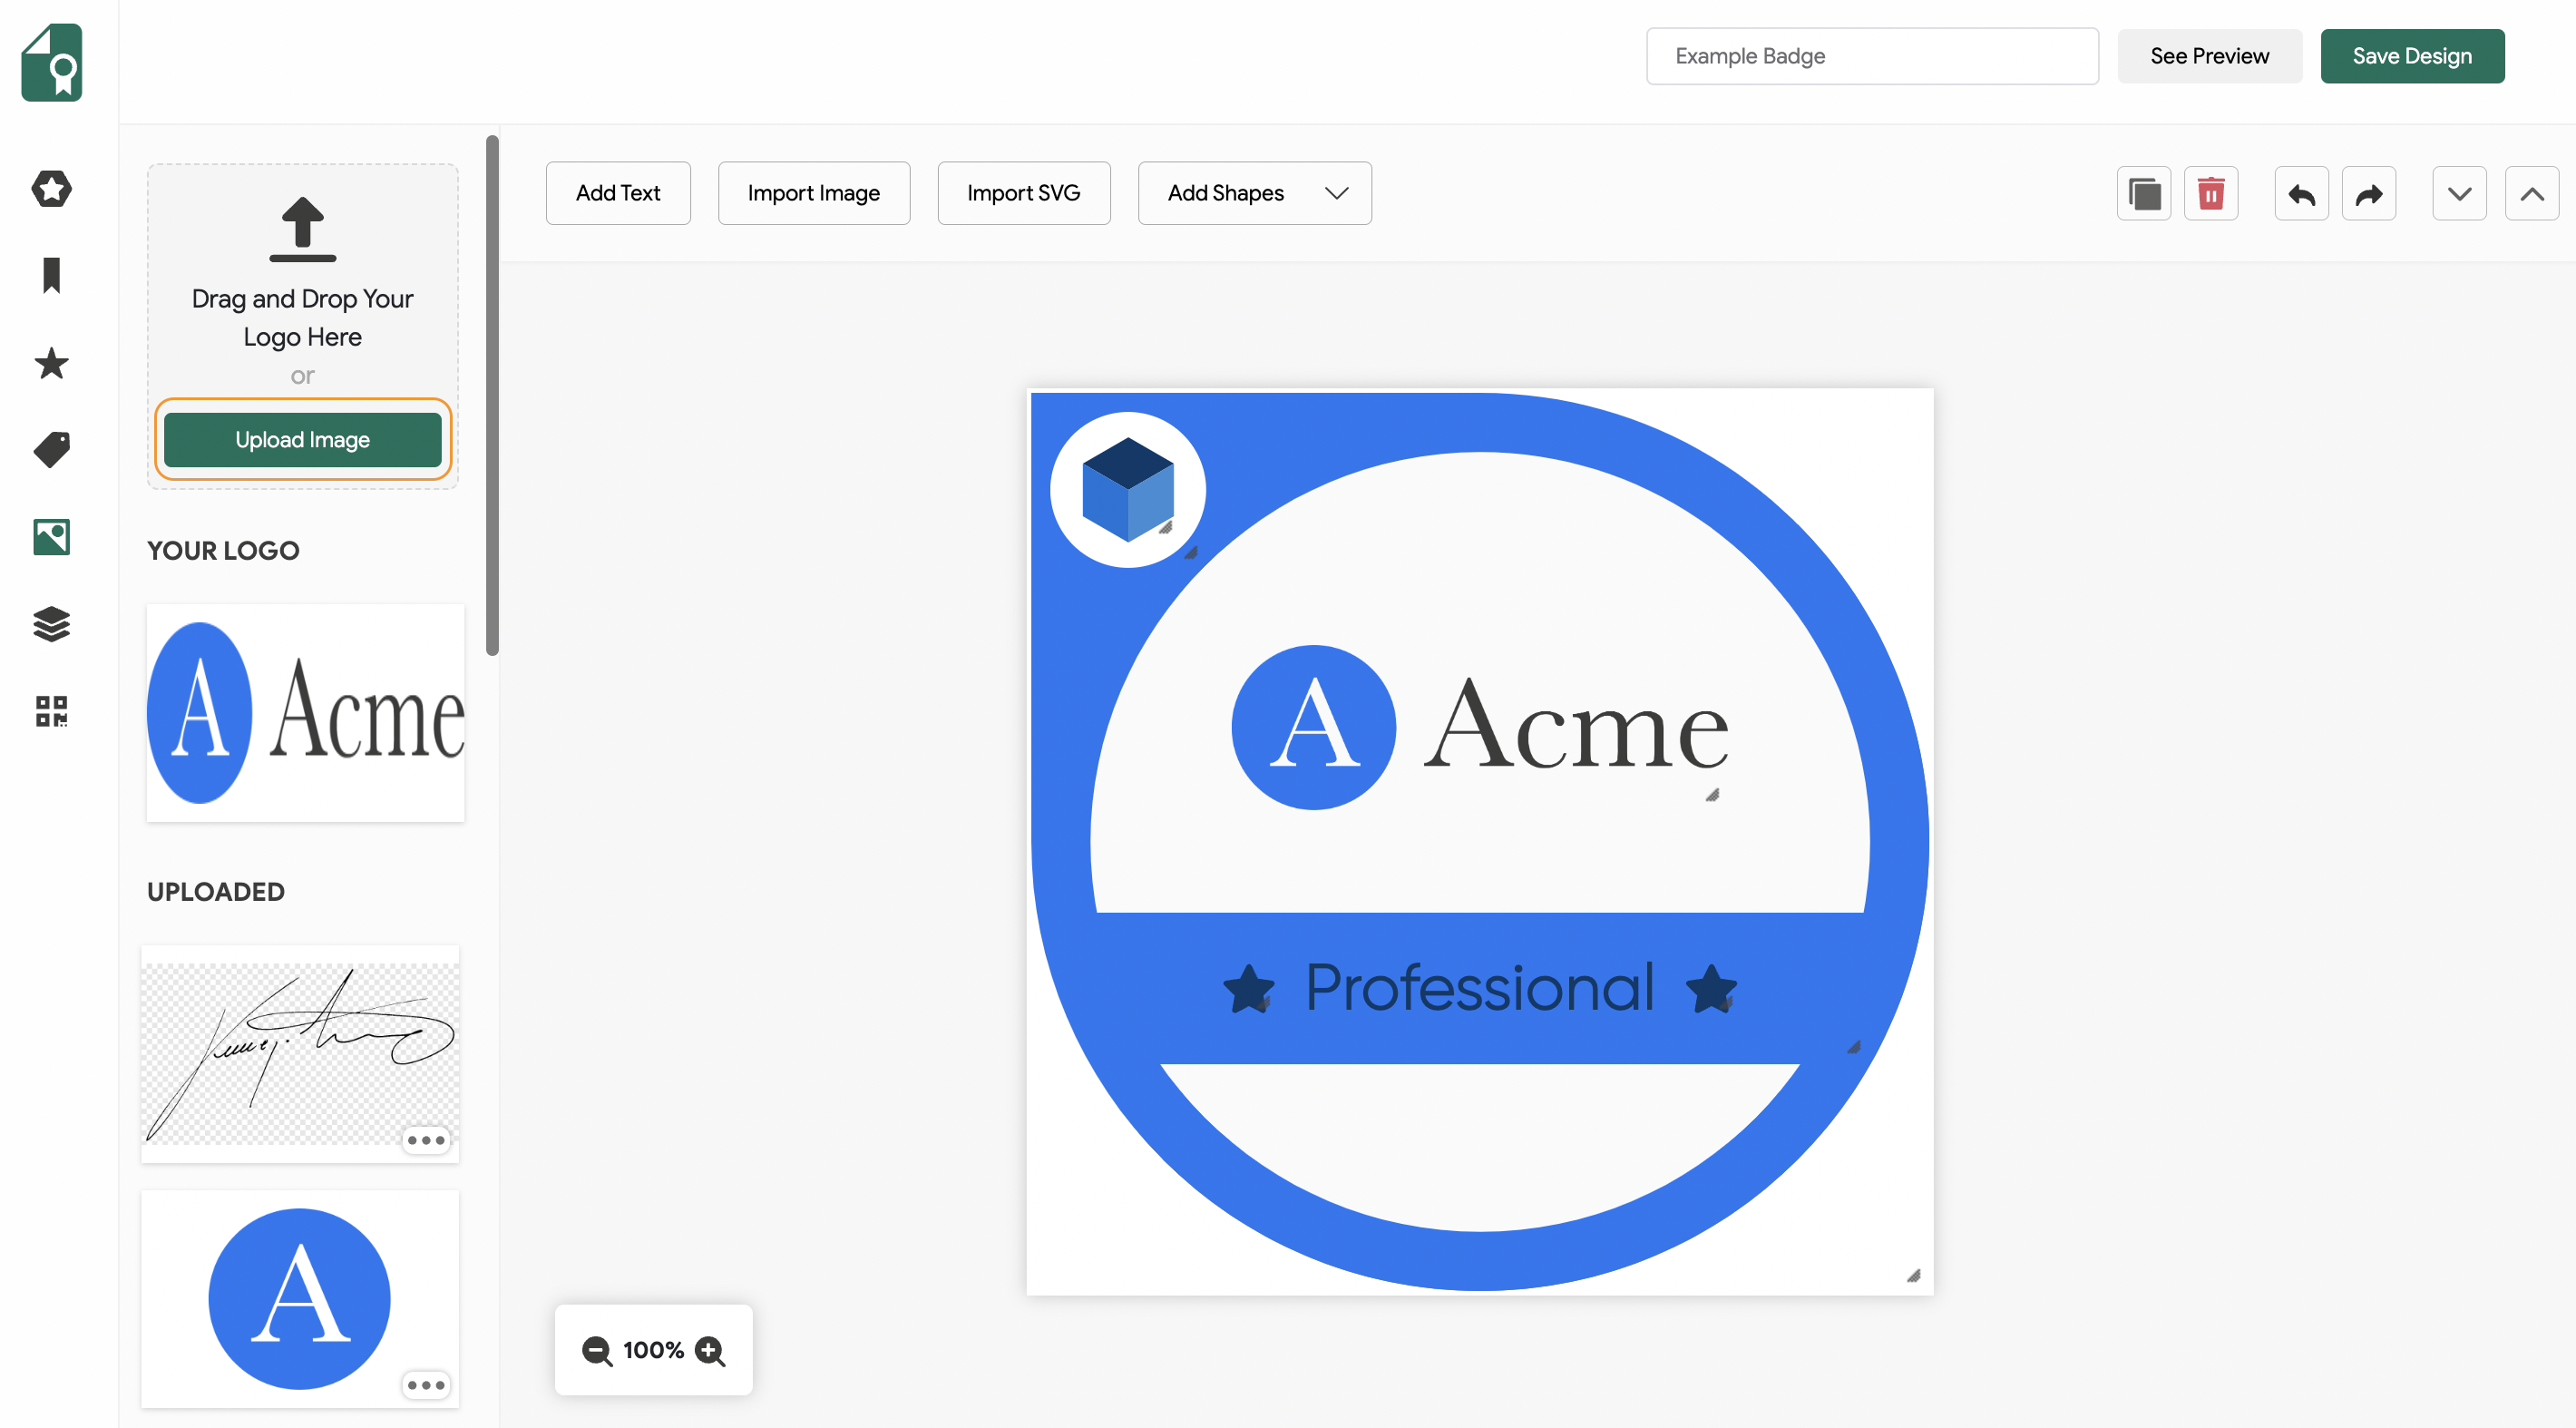
The Images tab allows you to upload images, such as your institution logo. You can drag and drop your image here, or click the Upload Image button to import any image.
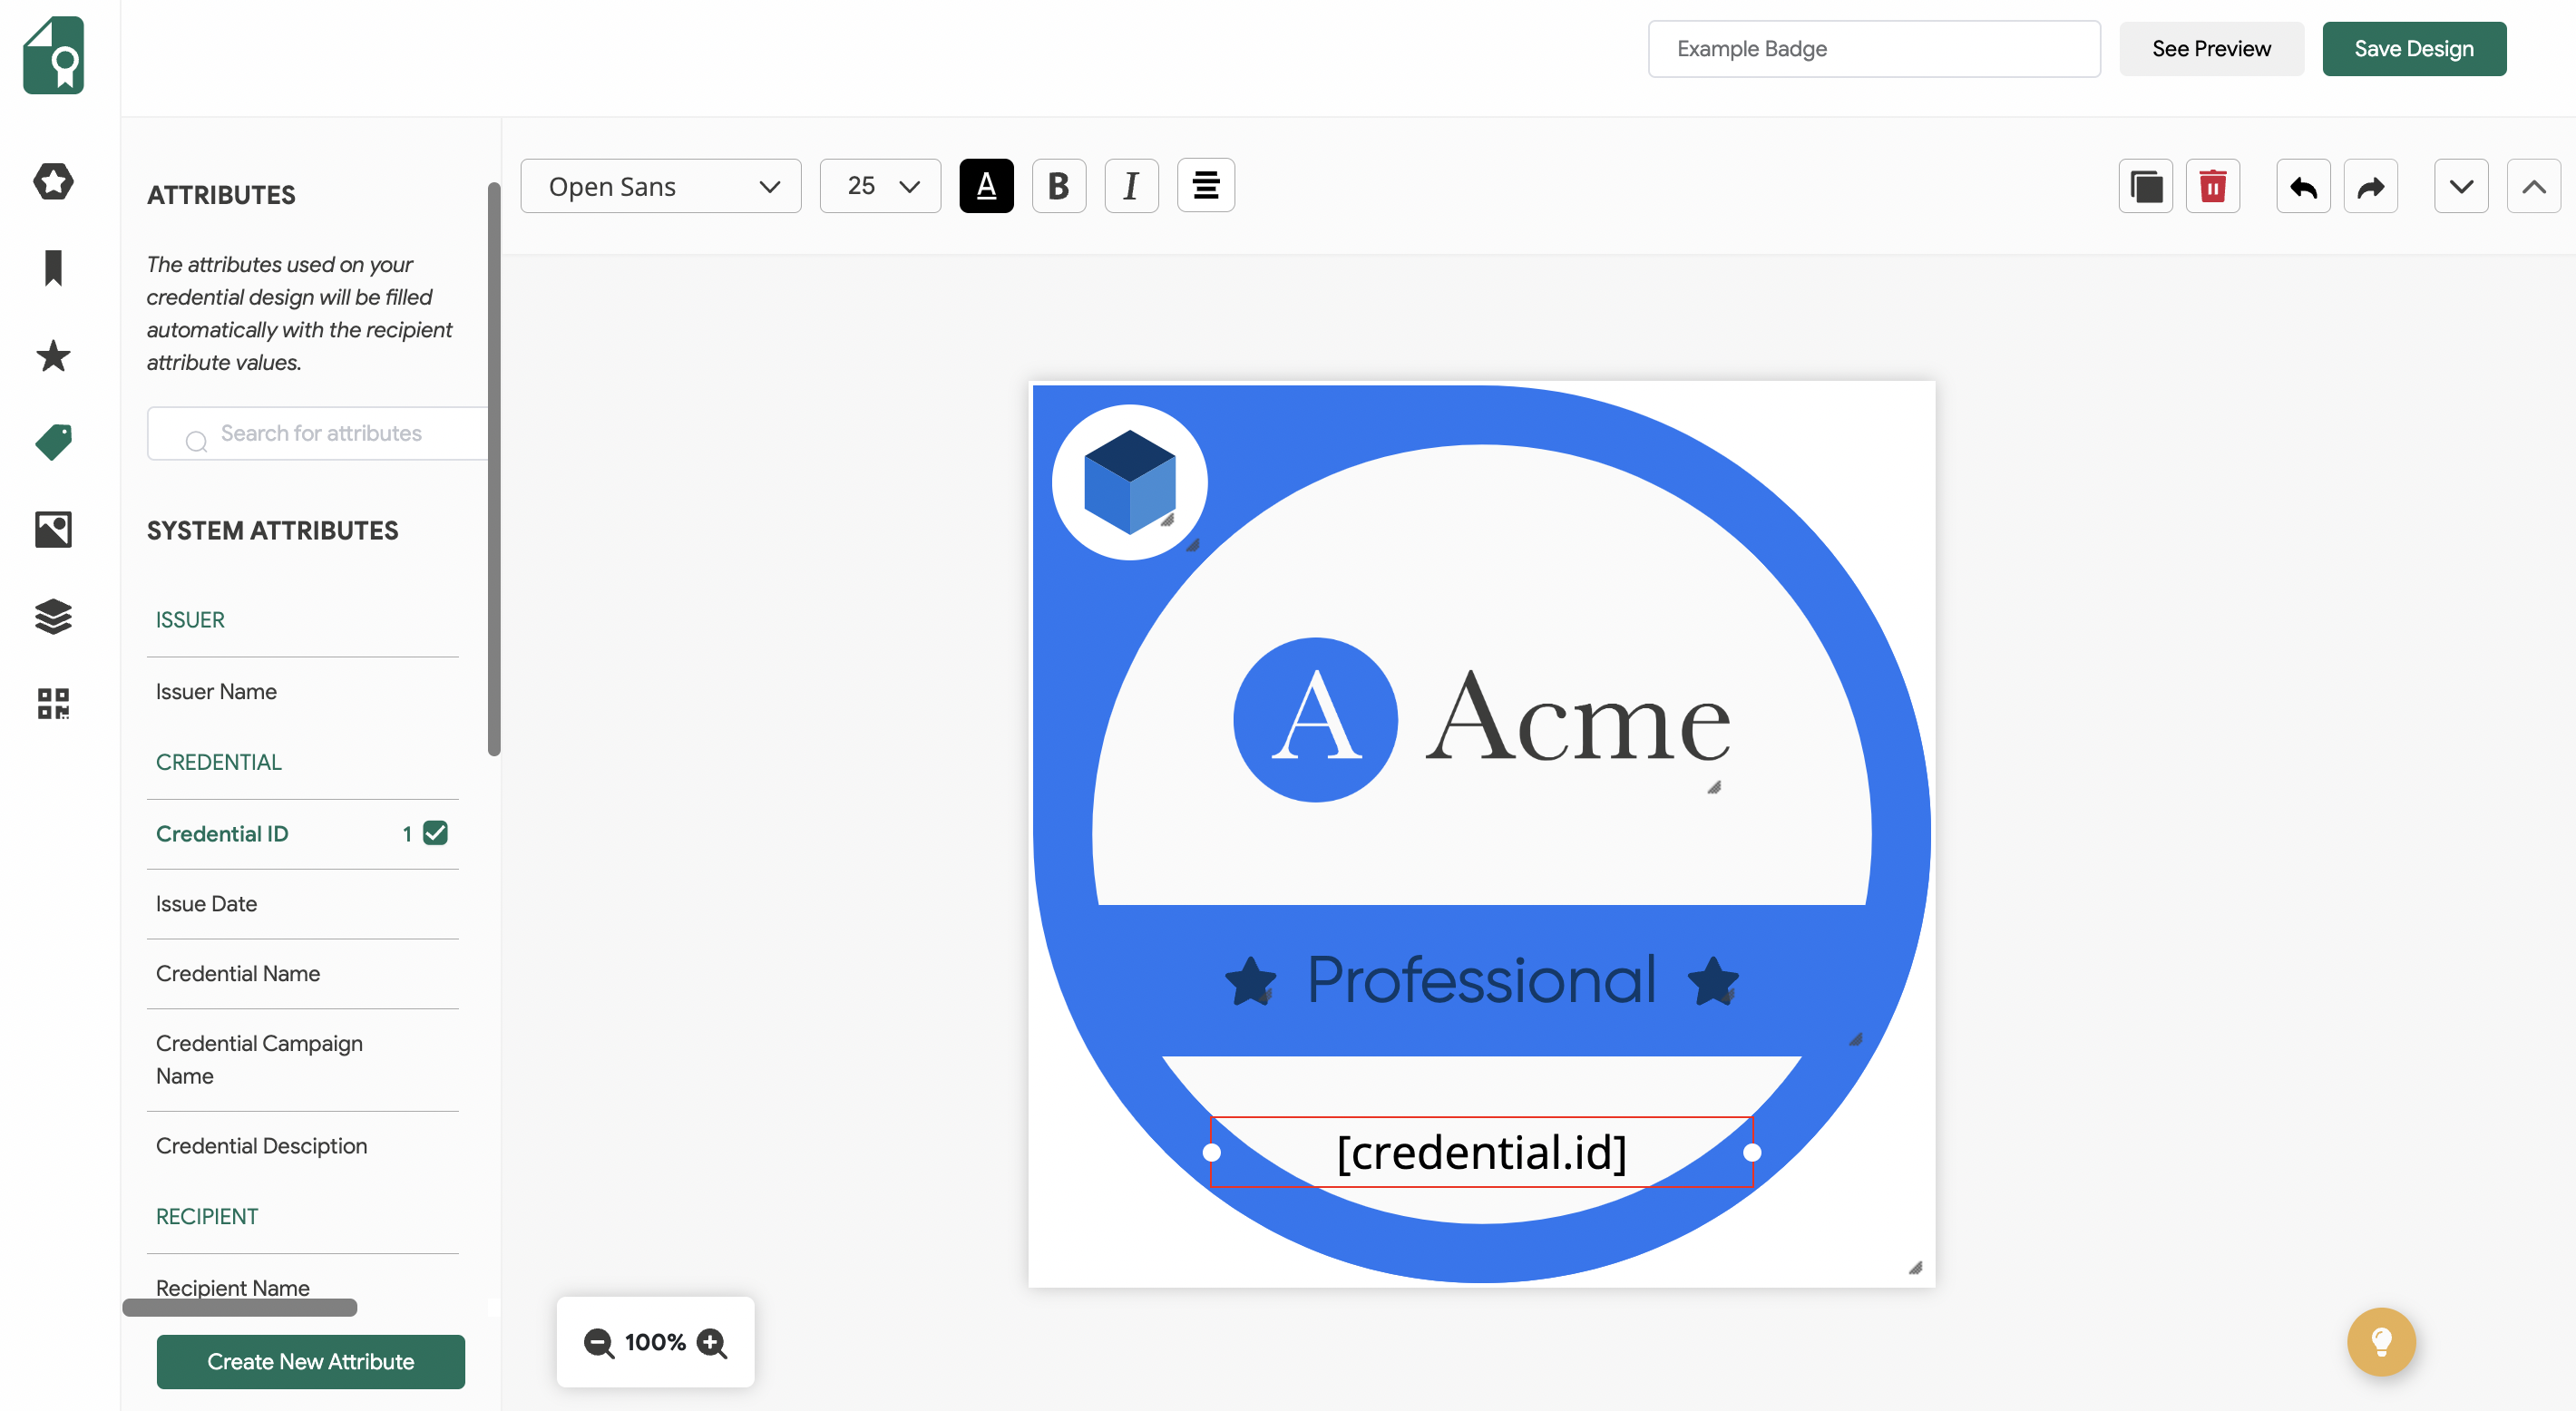
 Head to the Attributes tab on the left menu to include specific details to your badge design. Here, you have the option to include standard attributes like recipient name, issuer name, credential ID, and more. If you prefer, you can also create a custom attribute by selecting the Create New Attribute button within the same tab. Once you choose the attribute you want to add to your design, it will automatically appear on the badge. From there, you can customize the text, adjust the size, and change the font to suit your preferences.
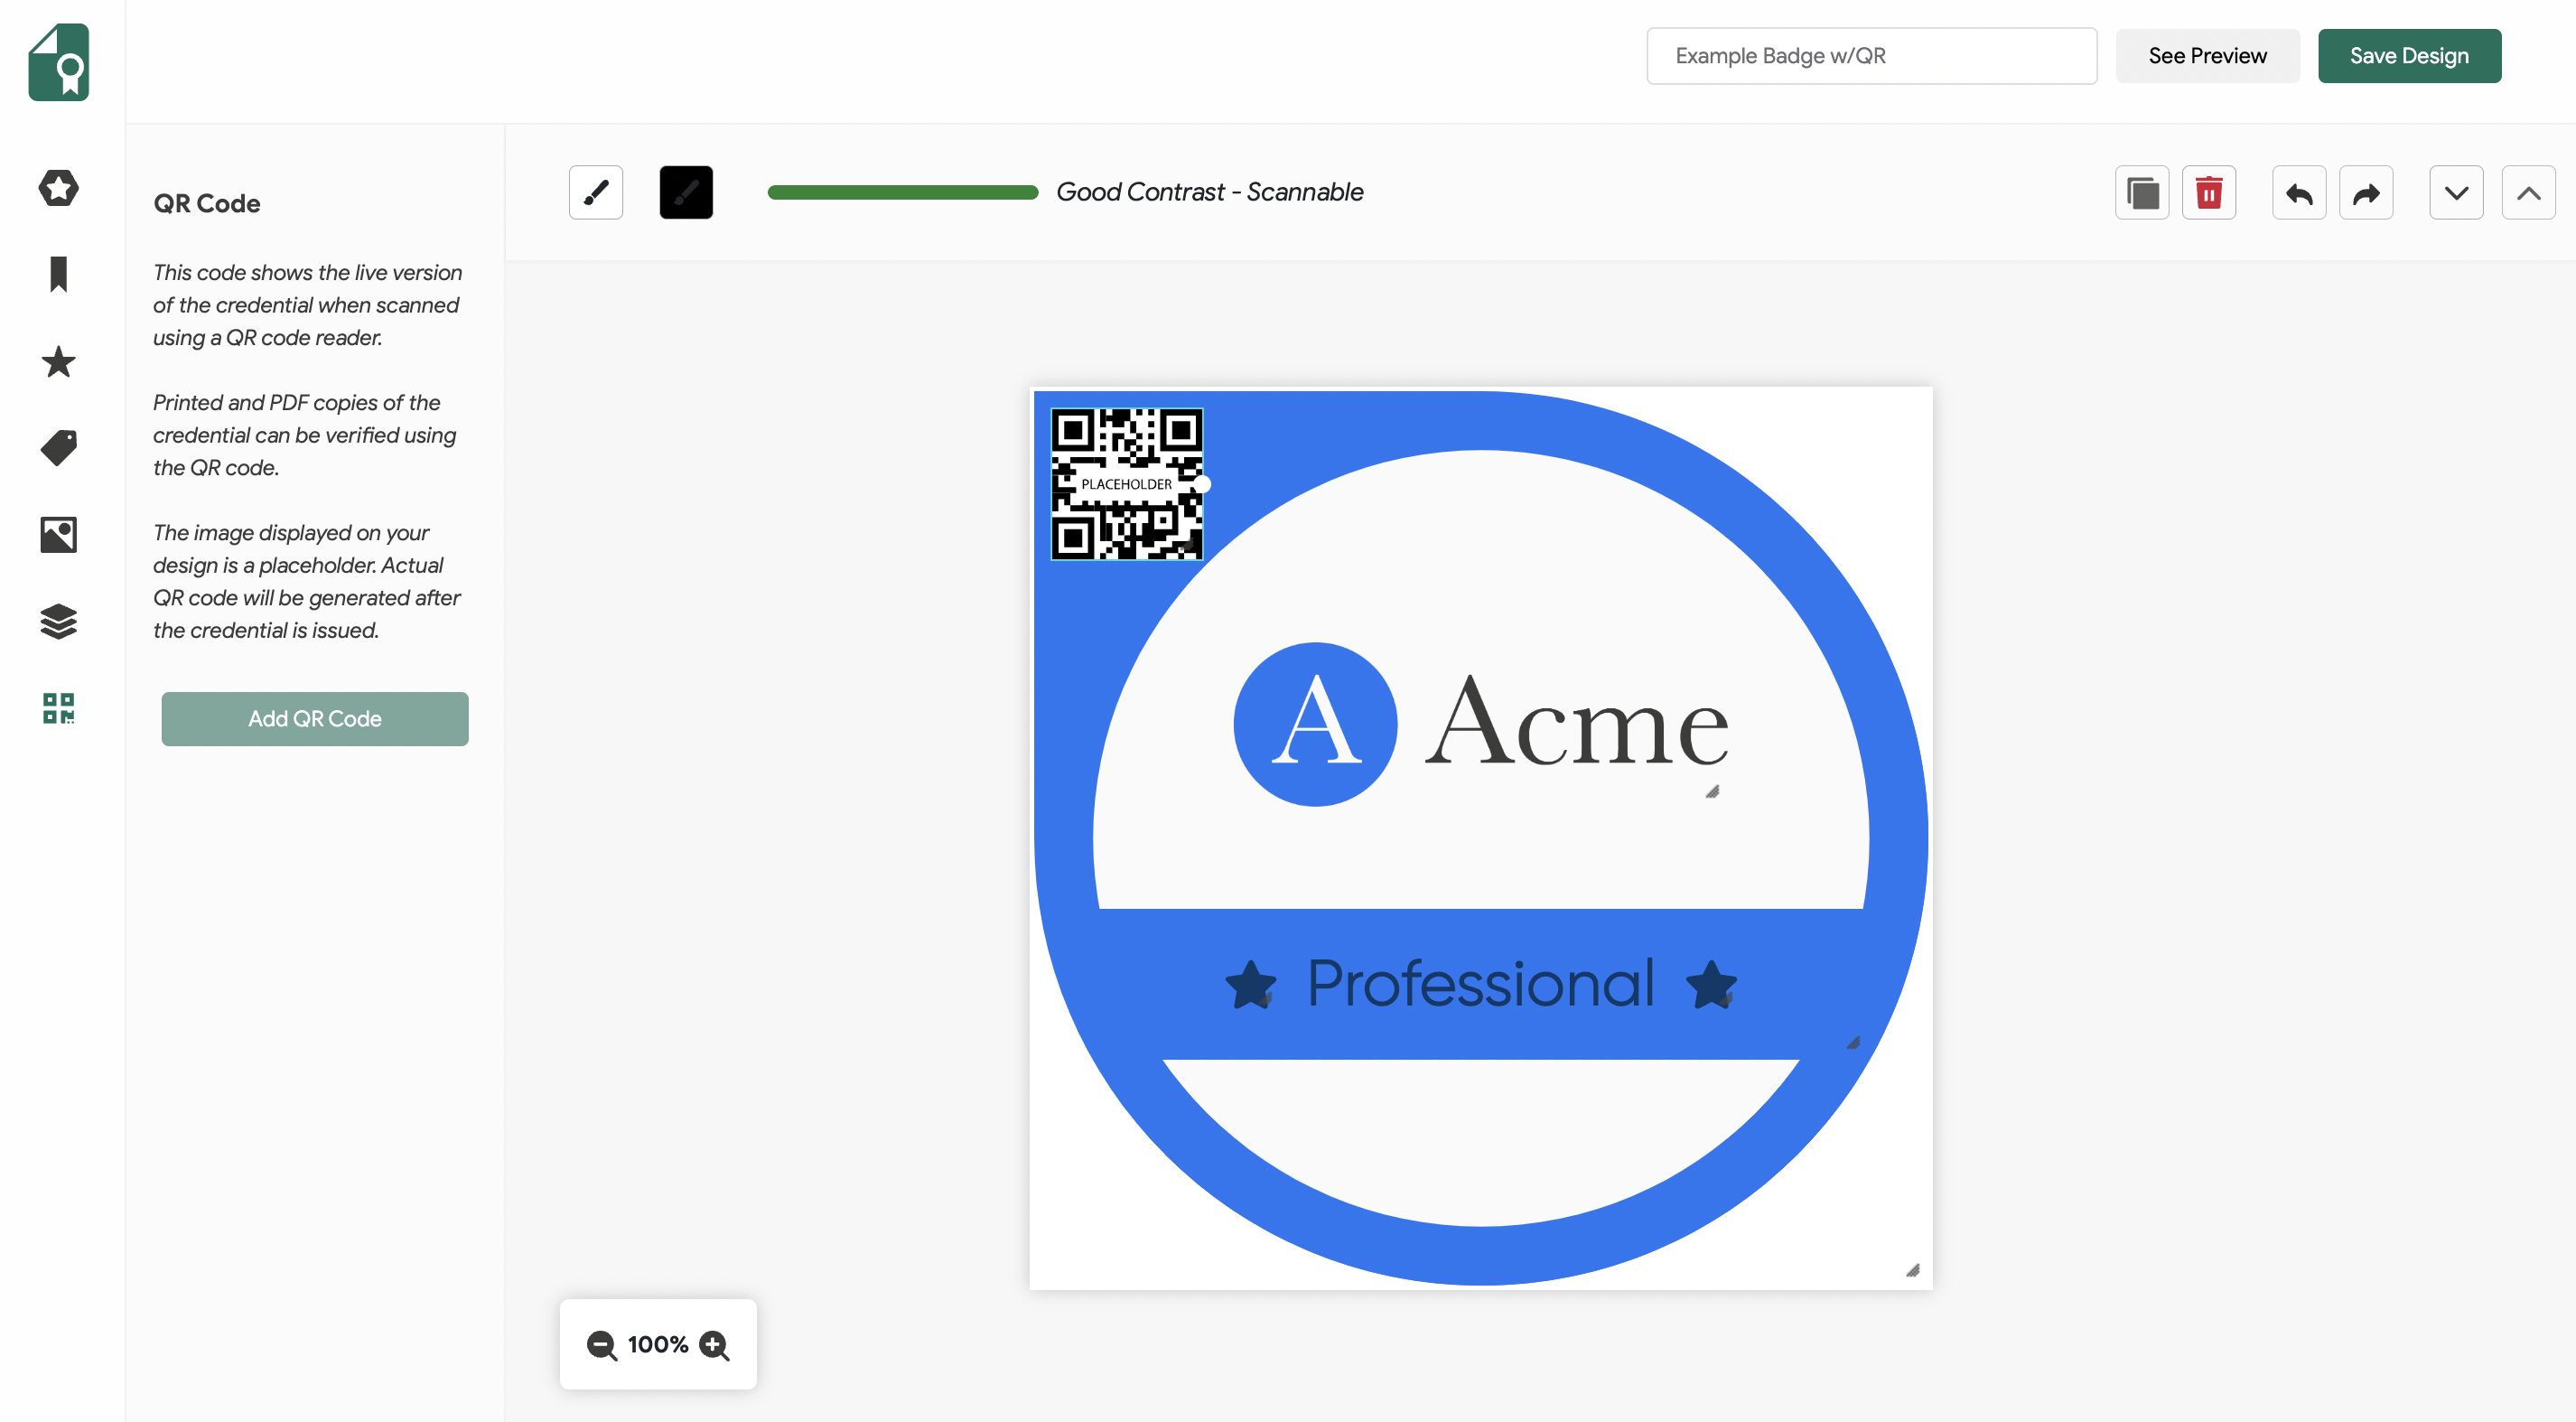
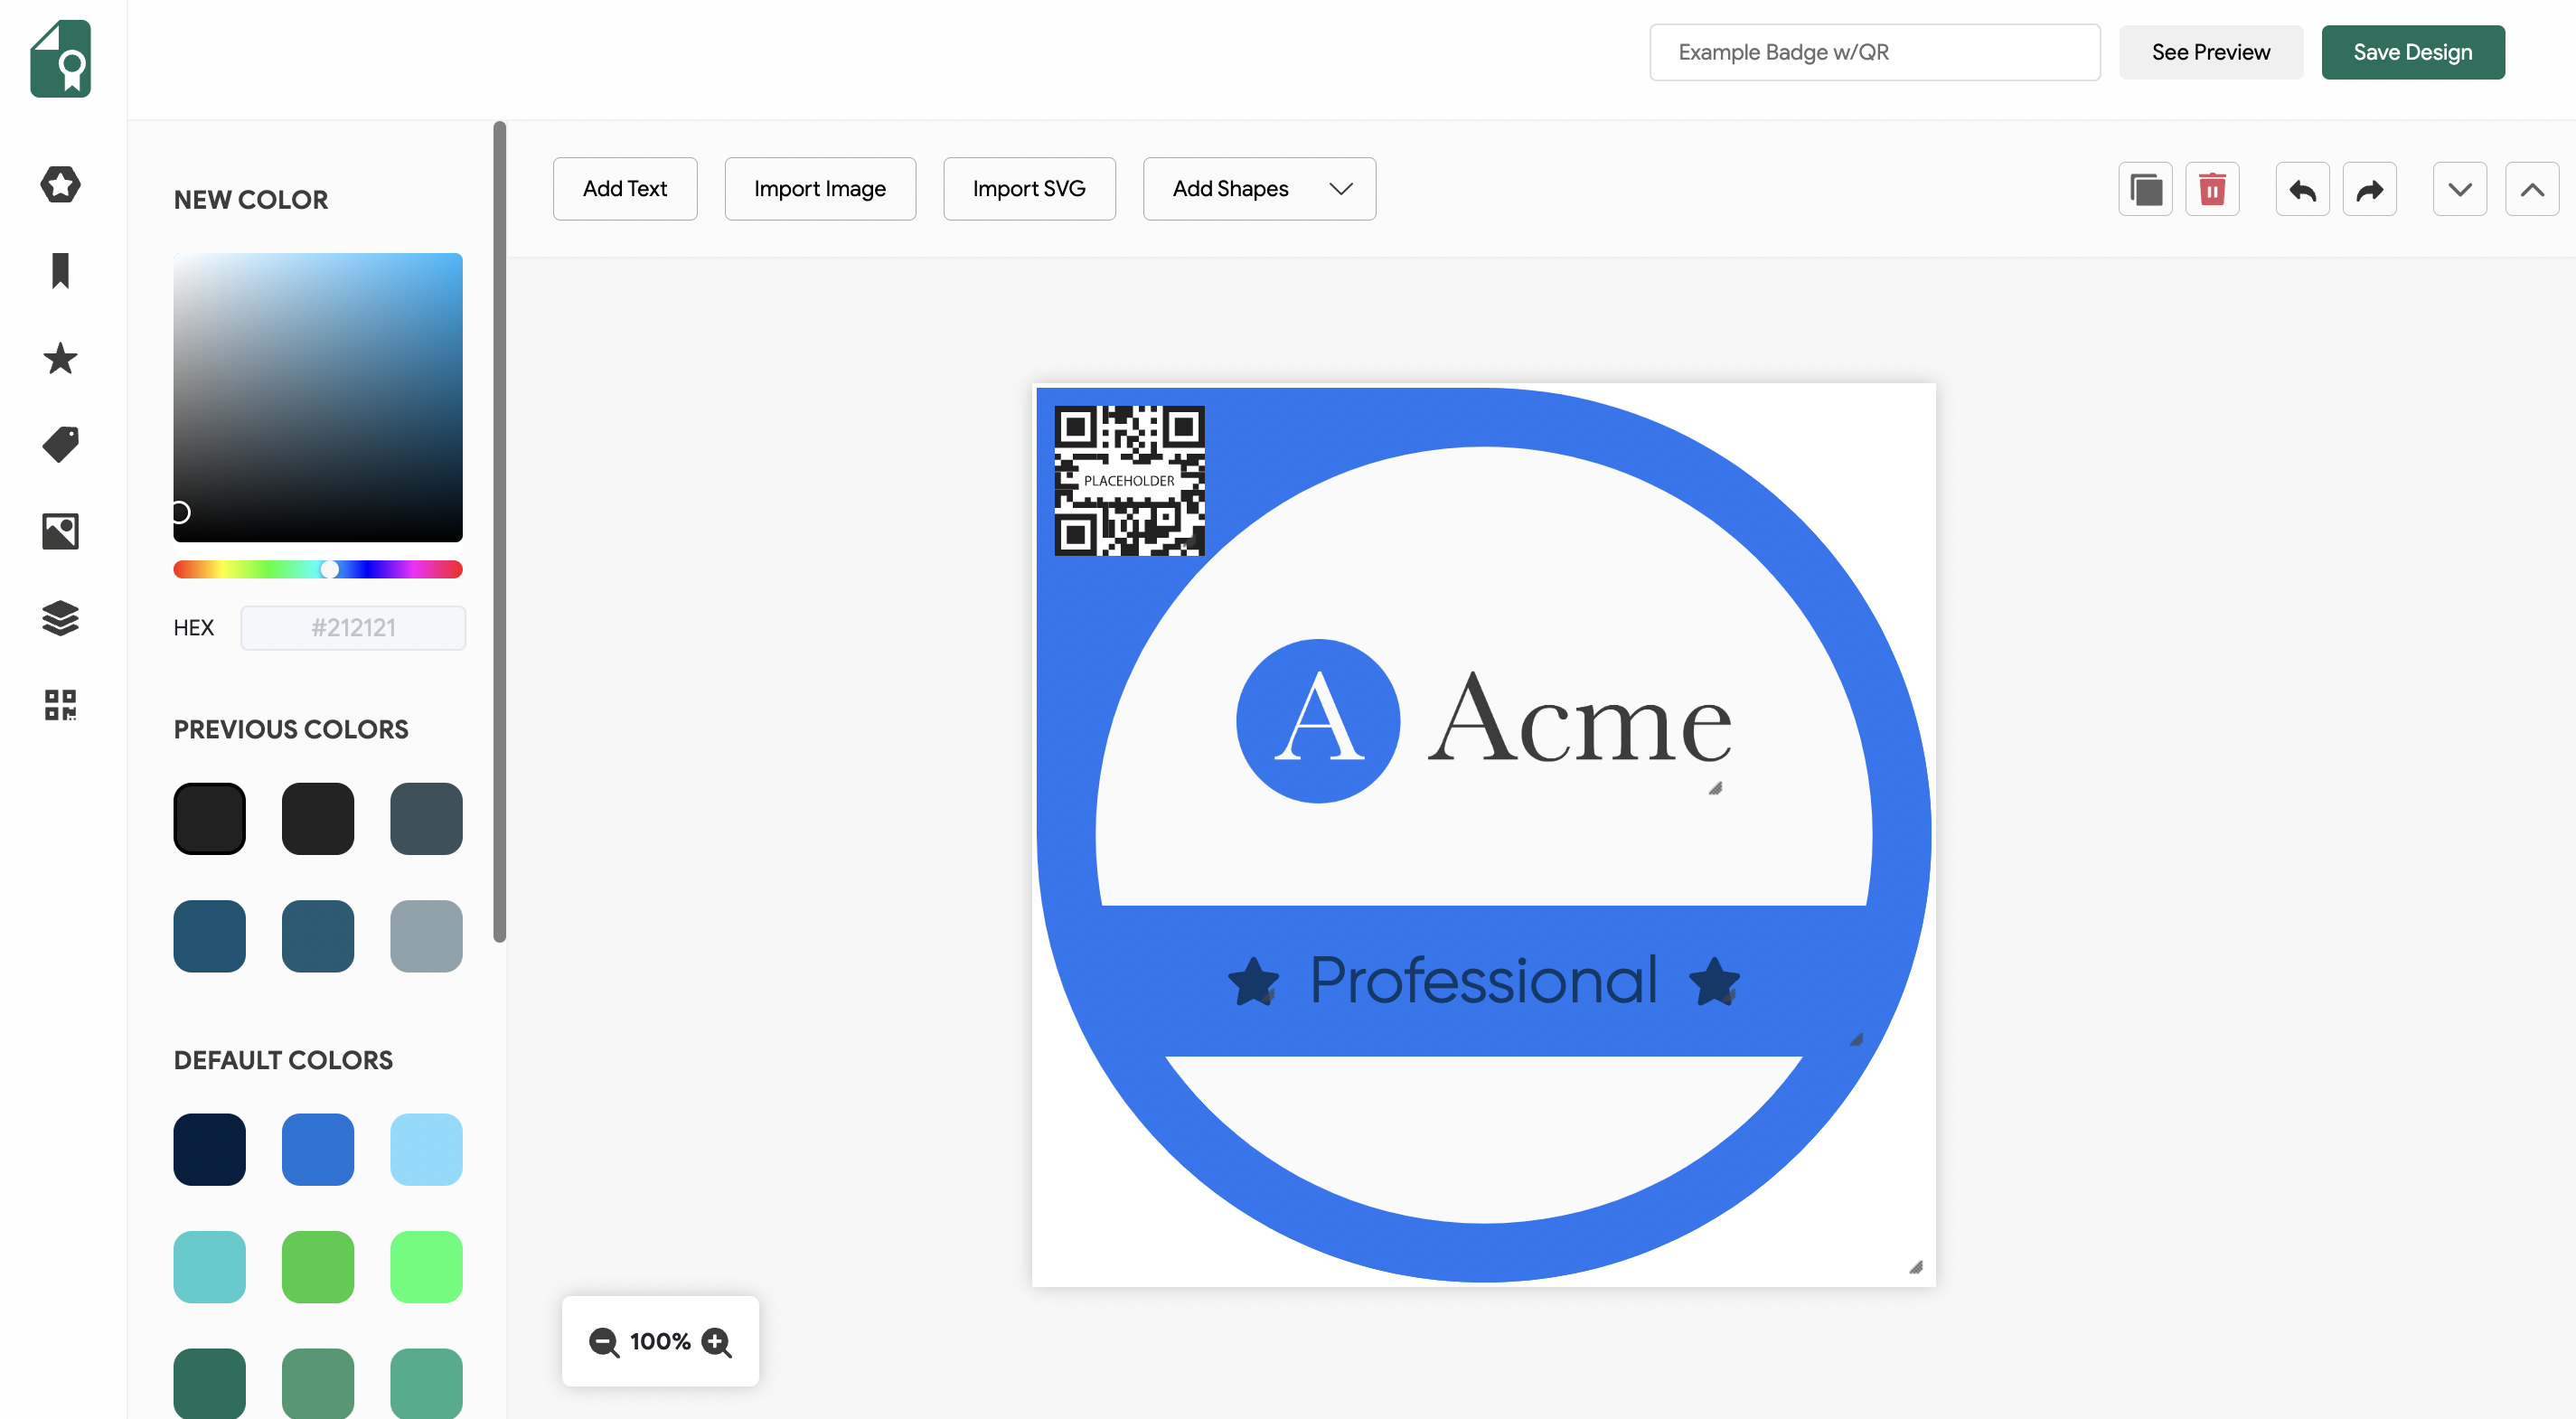
The QR Code feature allows you to add scannable QR codes for your digital badges. Navigate to the QR Code tab to add a QR Code to your badge.
You can adjust a color that will fit into your badge design as well.
Once you create your design, you can click Save Design and proceed to send your badge.
Related Article: How to Send a Credential?