
Adding dynamic images allows you to create highly tailored credentialing experiences.
Common applications include:
- Recipient Headshots: Add profile photos to ID cards, certificates, or digital badges.
- Partner & Sponsor Logos: Display co-branded logos specific to a recipient’s organization, chapter, or regional affiliate.
- Authorized Signatures: Insert dynamic instructor or executive signatures based on course or track requirements.
- Custom QR Codes & Visual Identifiers: Include individualized visual elements unique to each recipient.
Step 1: Create an Image Attribute
- Navigate to any component editor (Credential Designs, Credential Details, or Email Templates).
- Create a new custom attribute.
- Select Image as the Attribute Type.
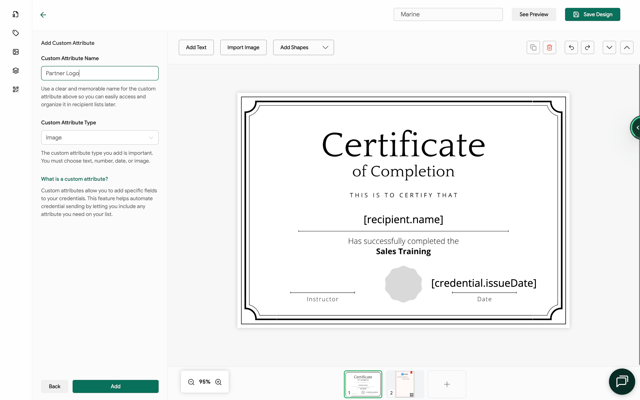
Step 2: Place and Position the Attribute
You can insert and position image attributes across three key areas:
- Credential Designs (Certificates & Badges)
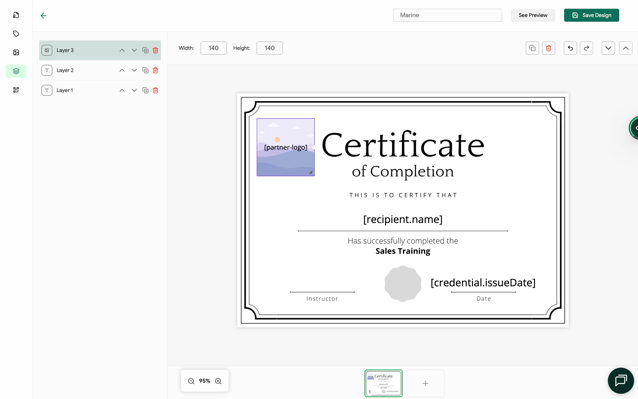
Related Article: Credential Design Complete Guide
- Credential Details (Credential Pages)
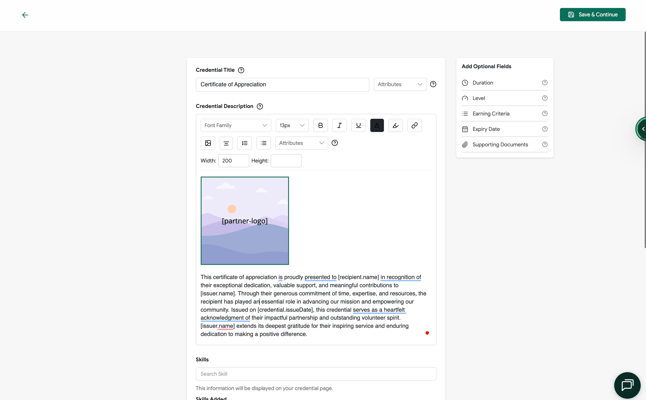
Related Article: Credential Details Complete Guide
- Email Templates (Notification Emails)
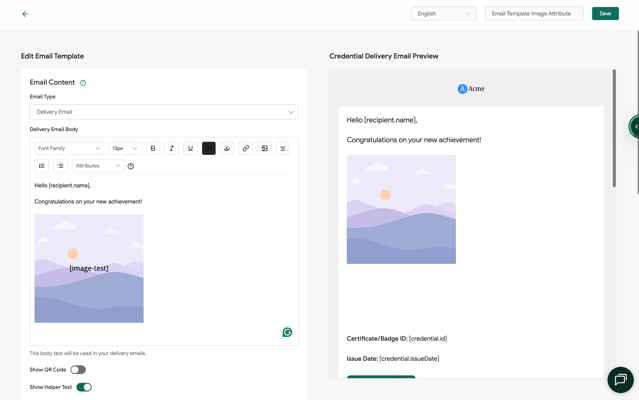
Related Article: Email Templates Complete Guide
Simply click on the created attribute to place it on your canvas or layout. Adjust its size and position as needed.
Important: Uploaded images will automatically adjust to fit the designated box. Ensure your uploaded images share compatible aspect ratios and dimensions to prevent unintended scaling or cropping.
Step 3: Upload Images in the Recipient Step
When populating recipient data, you can provide image files using three distinct methods:
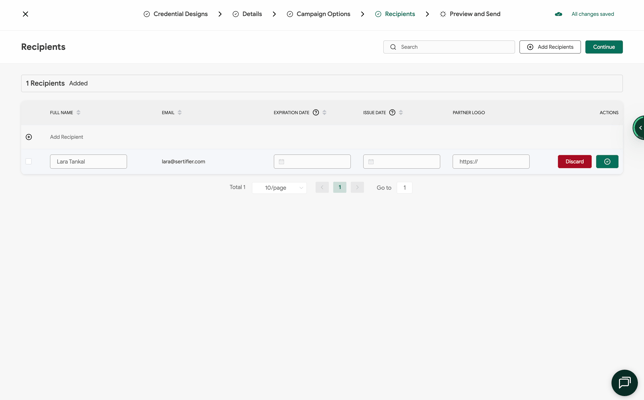
1. Individual Upload via Image URLs
- Enter a direct image URL into the attribute value field when adding a recipient manually.
- You can also edit an existing recipient's details at any time to add or update their image URL.
- Google Drive Links: If using Google Drive, set the file sharing permissions to "Anyone with the link" so the system can retrieve and display the image.
2. Bulk Upload via URLs (Excel / CSV)
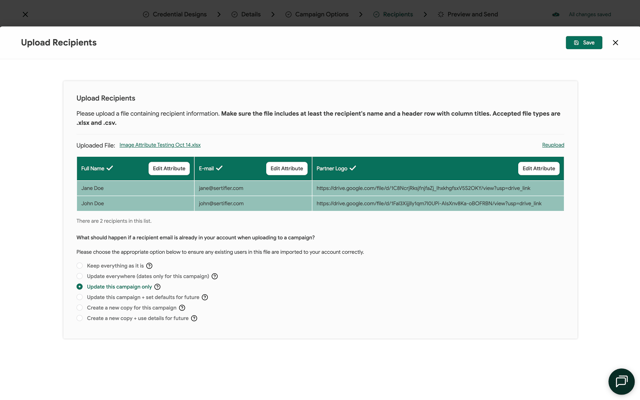
- Include a dedicated column in your CSV or Excel file containing the image URLs for each recipient.
- During file import, map this column to your target image attribute.
- Google Drive Links: Ensure all links are set to "Anyone with the link" for successful processing.
3. Bulk Upload via Embedded Images (Excel)
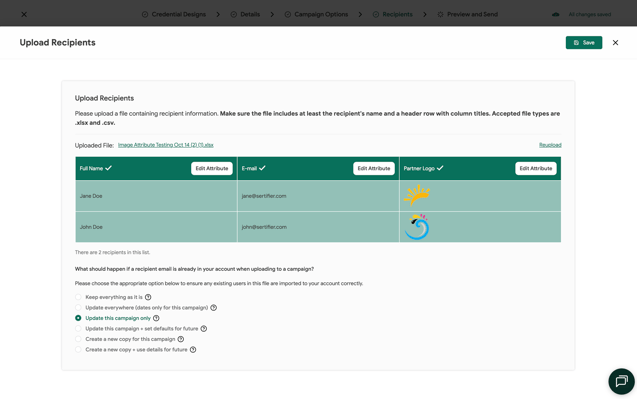
- Insert image files directly into the corresponding cells of your Excel spreadsheet.
- Map the column to your target image attribute during file import.
- File Size Considerations: Embedded image uploads are sensitive to total file size. Keep image dimensions within required limits. If you encounter upload errors, use an image compression tool to reduce file size before uploading.
Related Article: Guide to Uploading Recipients via Excel or CSV
Once recipient data is uploaded, all image attribute placeholders automatically populate with their corresponding custom images across your credentials, credential pages, and email notifications.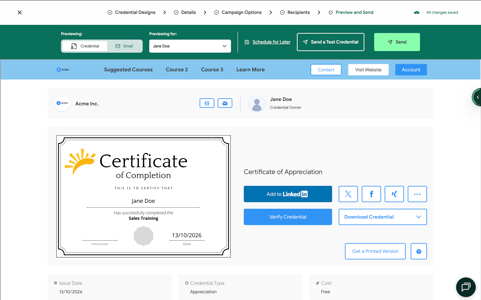
Related Article: How to Create and Use Custom Attributes